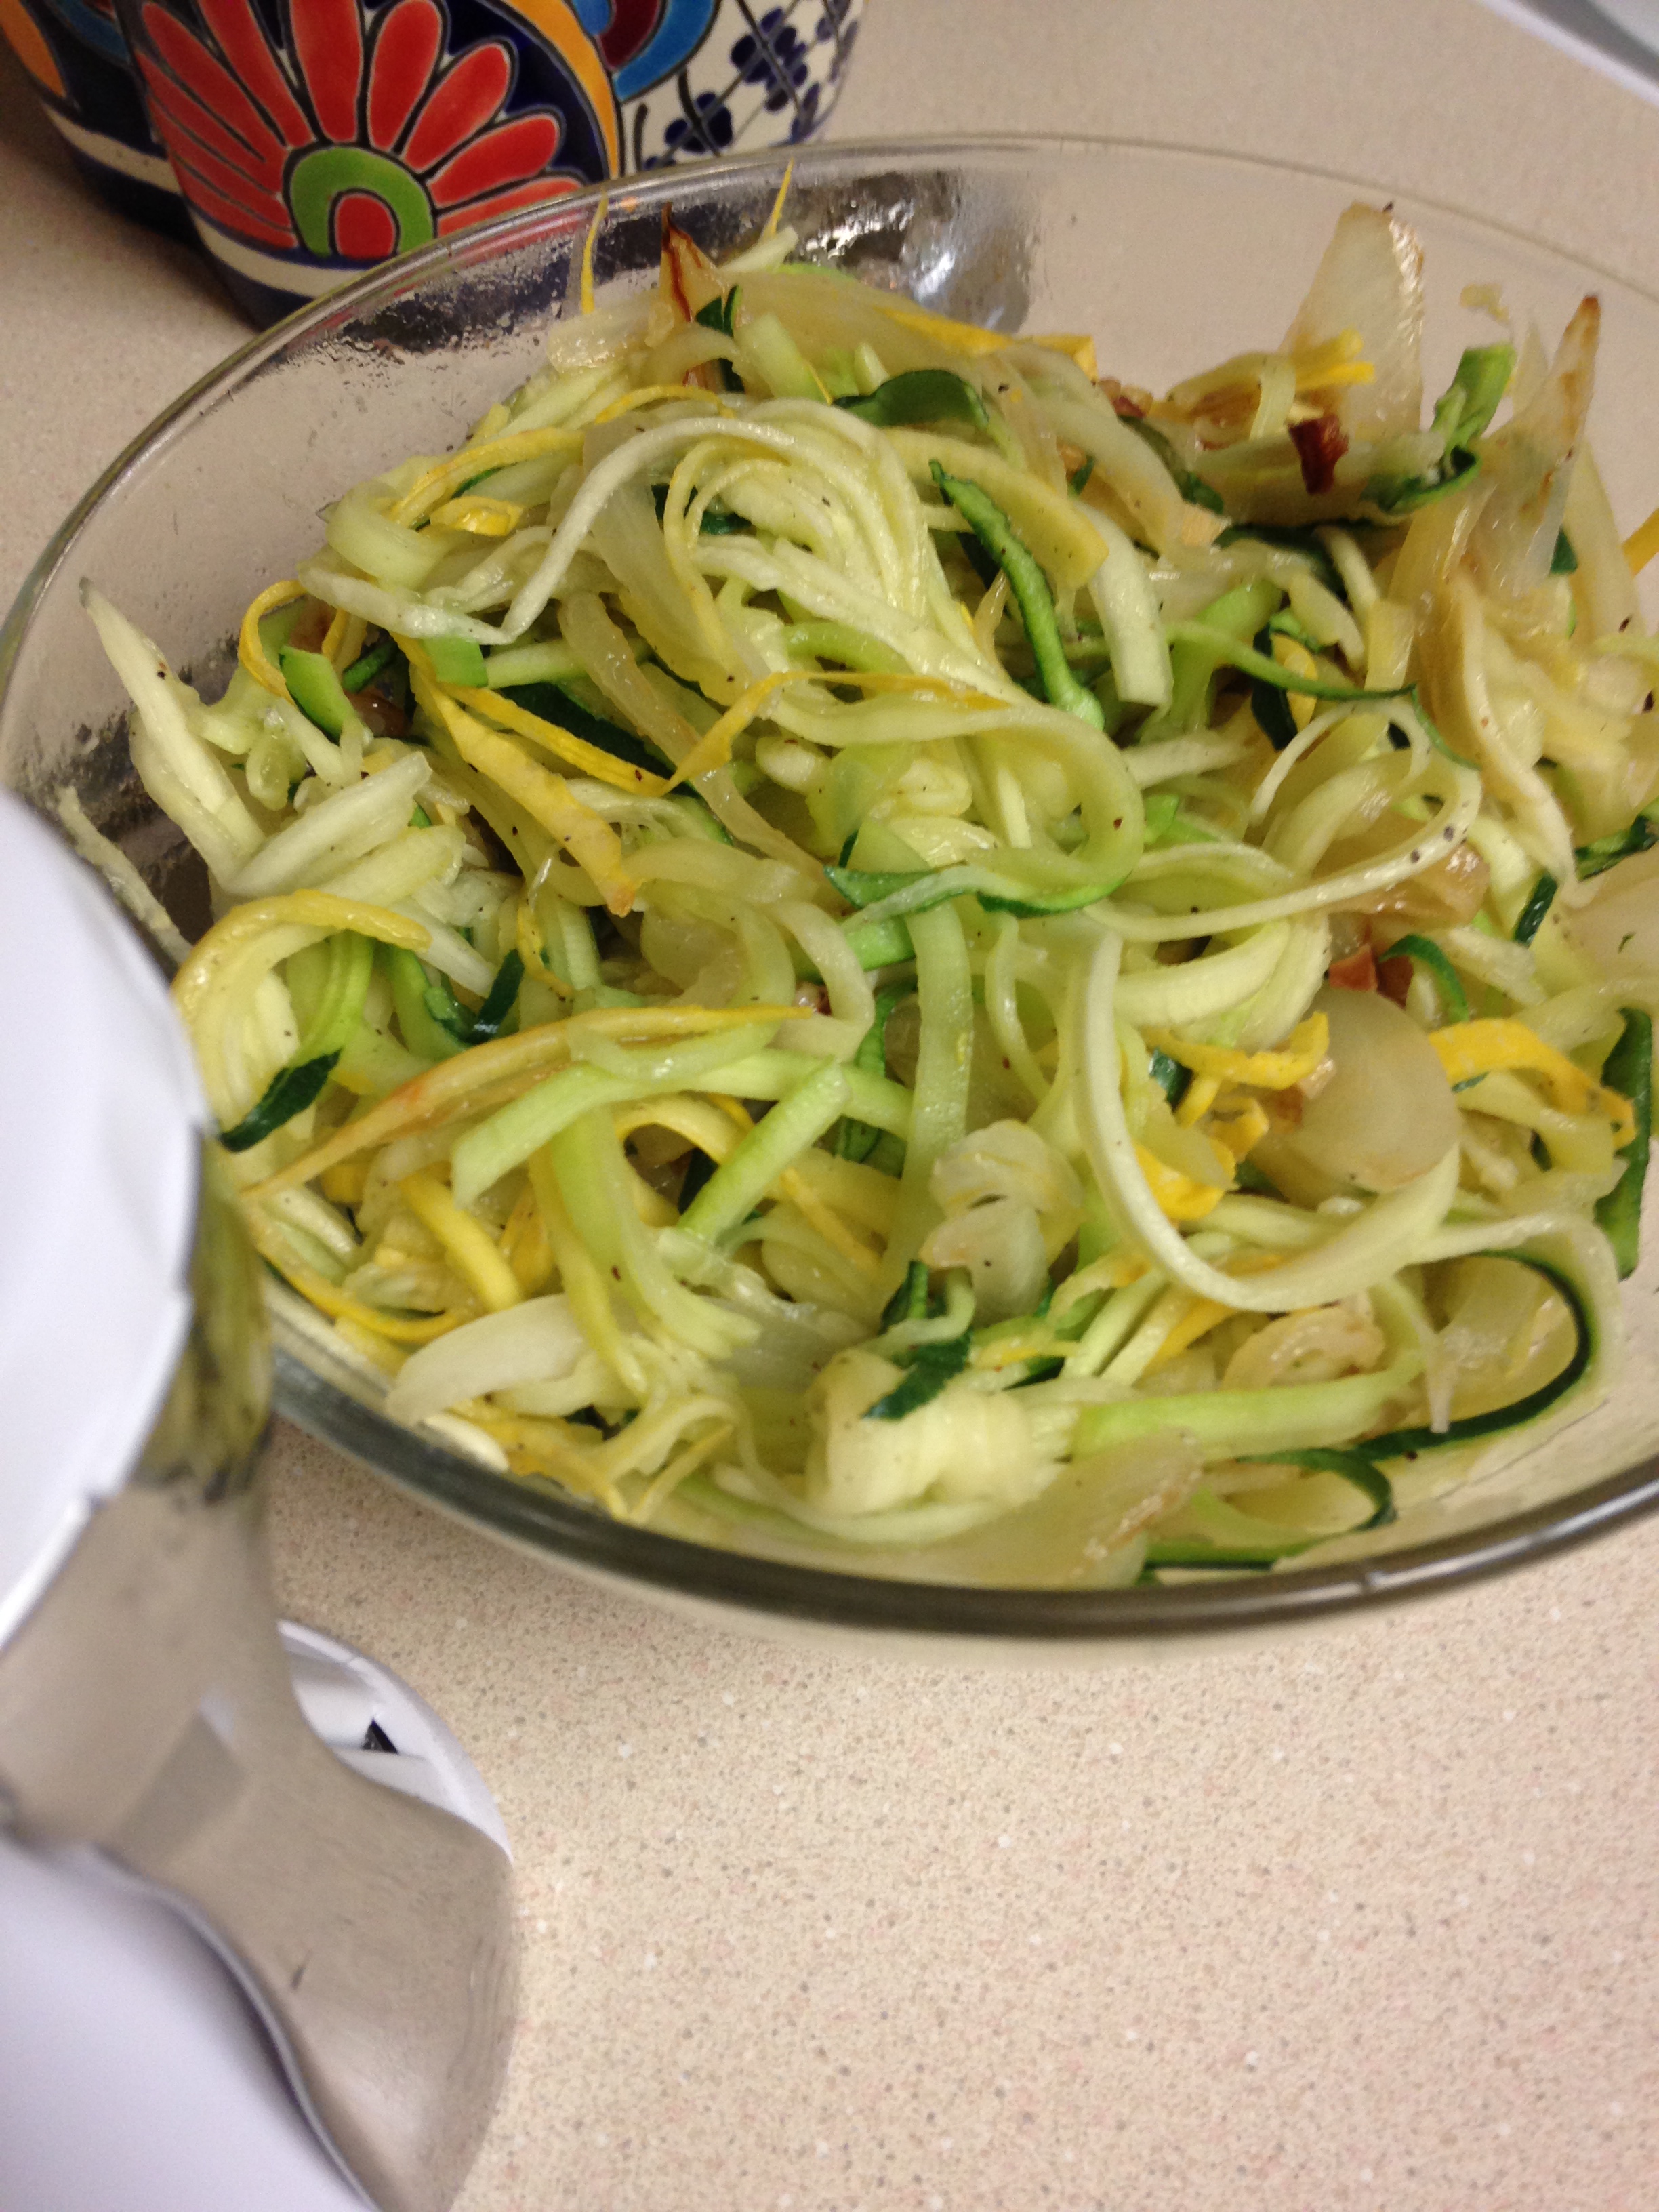
Sauteed Squash Strips
With all our moving around and packing and unpacking and living in compact spaces, I have lost the desire to accumulate kitchen gadgets. If something cannot be used for three or more different purposes I am hard pressed to acquire or keep it. If I do succumb, such things often don’t make ‘the cut’ when we are packing and downsizing. Things like avocado slicers, cherry pitters, cheese slicers and the like are not found in our kitchen drawers. On the other hand, our eleven year old Wusthof knife set goes with us everywhere. One thing I have not been able to do consistently without a gadget is vegetable ‘noodles’. I can use a vegetable peeler to make strips of veggies (yes, the peeler always makes the cut), but not so much the rounder noodles I want as a base.
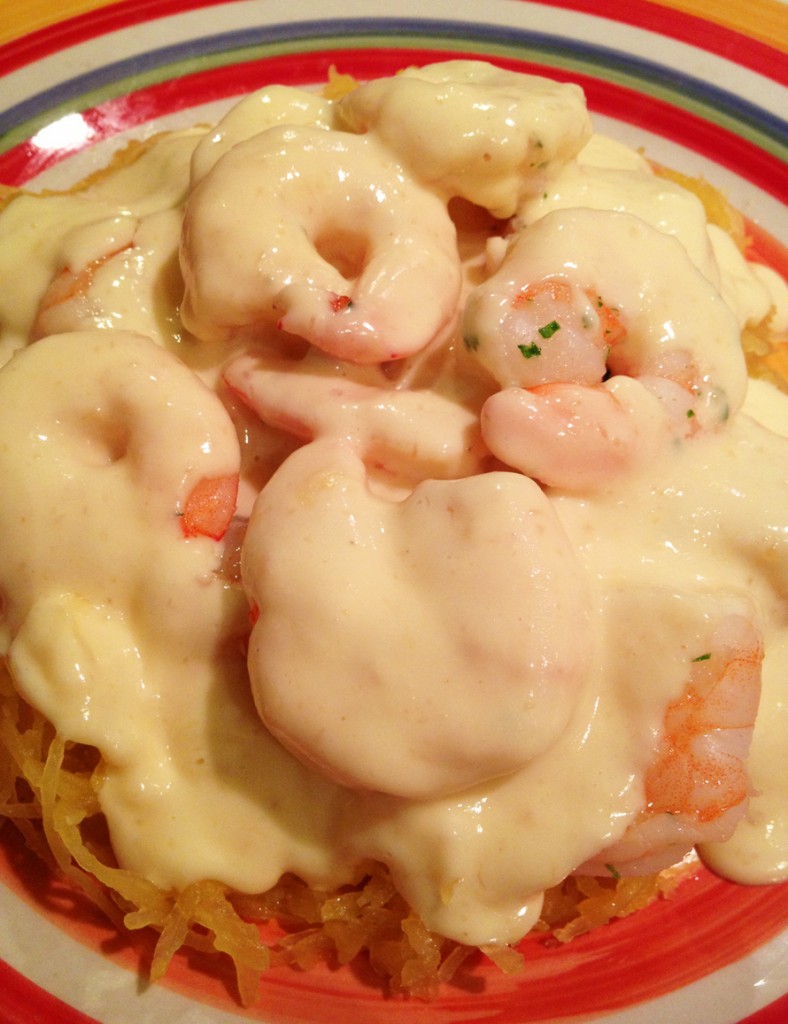
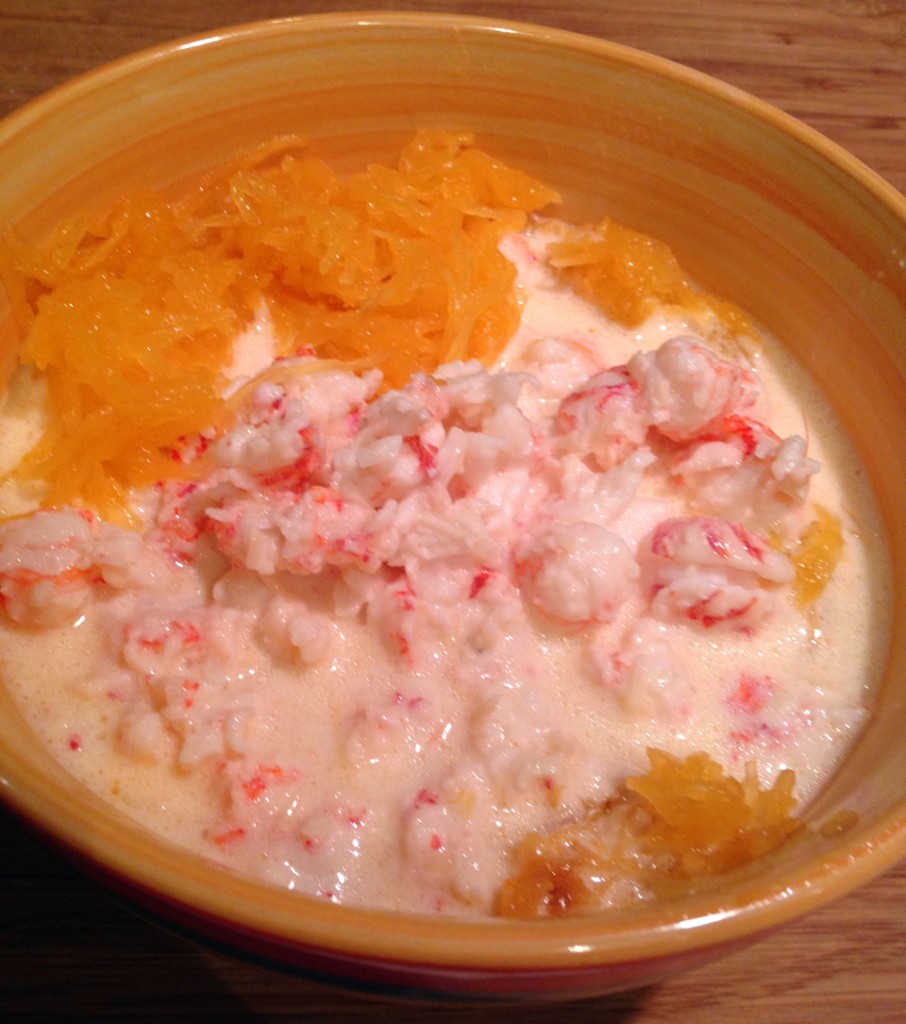
I caved and finally bought one of those twisty vegetable noodle makers. It works well and is compact (I bought the smaller, non-deluxe version). I have used the noodles under sauces in place of pasta, used them as a side dish, and even as part of tacos and enchiladas, which I must say went especially well. Using the gadget reminds me of peeling oranges as a child – I always tried to peel them in one long strip. This gadget can literally make one long noodle out of a zucchini. The problem with a three foot long noodle is dividing it among diners, so ponder some trimming either before or after cooking.
The nice thing about all these uses (and trimming opportunities) is the preparation is the same, and simple. I use them as a conduit to compliment other foods, like many use rice or pasta, so keeping the preparation simple makes so much sense. One way to use them that I have not yet tried is in soup – imagine pho or udon with veggie noodles. Sounds good, but for me, July is not the time for hot soup, so that experimentation will have to wait for fall.
Sauteed Squash Strips
1 Tbsp extra virgin olive oil
1/2 yellow onion, julienned
2 garlic cloves, chopped
1 yellow squash
1 zucchini
Sea salt and ground black pepper to taste
Twist zucchini and yellow squash through thick setting of a vegetable noodle gadget, placing ‘noodles’ into a bowl. With a sharp knife cut an X through the noodles, allowing for randomly shorter, bite-sized strips. In a medium skillet over medium high heat add oil. When oil is hot add garlic and onion. Cook until onion begins to brown on edges. Lower heat to medium. Add squash strips to pan and season with salt and pepper. Toss squash with onion and garlic until heated through, but stop before squash begins to go limp and release liquid, about two minutes. Remove from pan and serve immediately, either as a side dish, taco filler or ‘pasta’ under sauce.