Seals Kitchen
If you notice the categories for each blog entry I make a Kitchen is always included. There are a slew of them now. Each time I decide on categories for an entry I pick the kitchen where the dish was made. Some kitchens I use are borrowed from friends or relatives, and some are part of the various places where we have lived. They all possess a different set of tools and amenities, which translates to different challenges. When I started this blog the name came from the fact we spend time in many different places and I love cooking in any type of kitchen encountered. Over the next few months I am going to sprinkle you with posts about the different kitchens, giving you some insight and hopefully some laughs about idiosyncrasies of each kitchen.
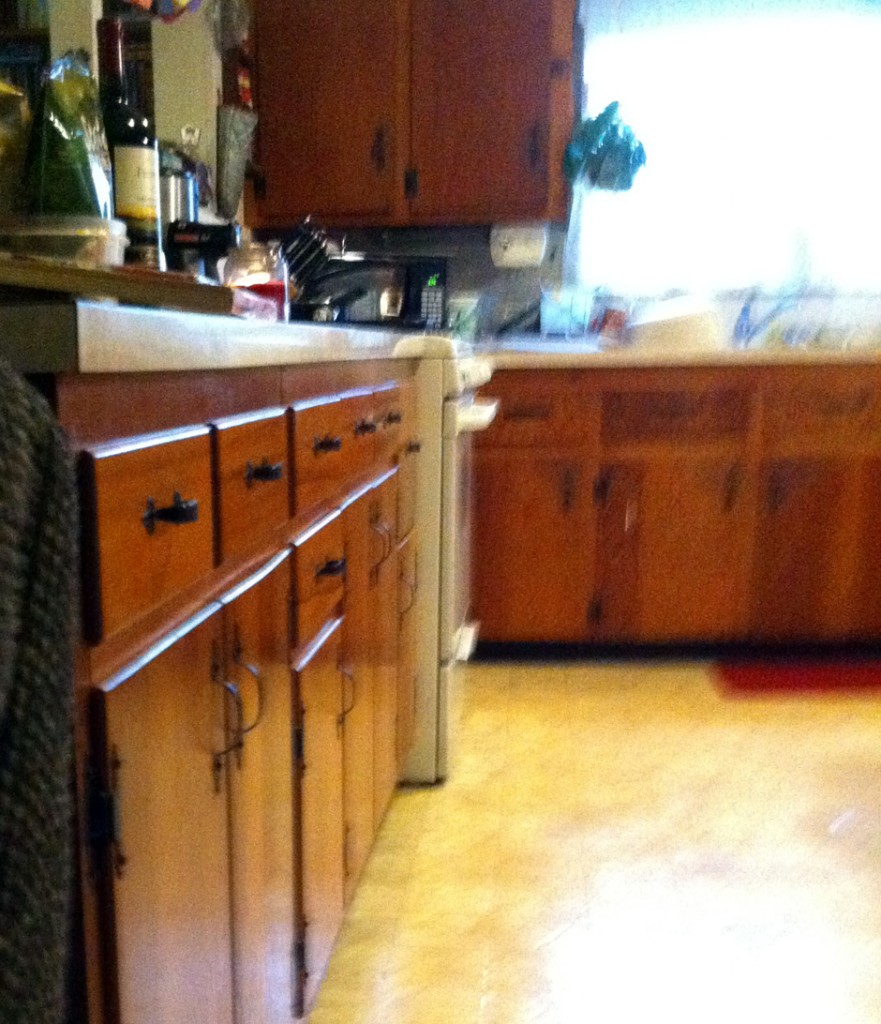
I am going to start with the kitchen where I first began blogging – Seals’ Kitchen. The picture credit goes to Little B – she ran around the house taking pictures one day and I got a kick out of this one. It is a kitchen steeped in family history and cherished by many. When we lived in North Texas it was in the house where my mother-in-law grew up. Big D’s grandparents built and added on to the house over approximately sixty years, so in addition to having a lot of character, the kitchen was built to perfectly suit Grandma Seals. She was about 5’2” tall, and the counter was built to match. Compared to my 5’10” frame, I did a lot of stooping when cooking there – a problem mostly solved by using a stool. She was a popular baker and cake maker for the small community, so storage of tools for making special event cakes and goodies was apparent. Plenty of storage! The kitchen had a dedicated water heater for the sink, which made for a wonderful, endless supply of hot water. A plethora of power outlets were also available, allowing for all the appliances to sit out on the expansive counter space and be immediately ready. It also had a built-in kitchen table – when full the table could seat about ten people. The size worked well for big parties, as well as preparing food. A corner of the table was also often used to long talks a person or two, long homework sessions and art projects. When we lived there a lot of neighborhood kids came in and out to grab a drink or a snack, but we also had some quiet meals for just the three of us – me, Big D and Little B.
Little B had a lot of first in the kitchen – she turned one and two years old while we lived there. Her first forays into cooking happened at the top of her learning tower against the counter (the juicer was especially fun). She learned to crack eggs and stir and mix and eagerly watch things bake through the oven door. I don’t know if she will remember much of it when she is older, or even now, but I know her great grandmother’s spirit got a kick out of her experiences in the space.
The space was huge and open. Almost too huge – I often forgot where I put away less frequently used equipment and food. Getting down on hands and knees to reach the storage under the table was a funny site. An actual window above the sink made for some pleasant seasonal views when dishes were being washed (no dishwasher, but two big sinks were well worn of hot soapy washing water). It was easy to keep using parts of the counter and table, then use another part and another part. Suddenly, the whole kitchen was a mess and made for the need of some MAJOR clean up time. I never felt isolated in the kitchen – clear views of the stairway, entry into the bedroom hall, living room, dining room, back door and front door were available. You would have to try hard to miss something going on in the house if you were in the kitchen. I am sure that was an accident. Heh. I have very fond memories of the kitchen and the people that filled it during our time there. I can only imagine its impact on those who shared the space for sixty years.


