We eat a lot of burgers. A lot. They are our go to meal when we can’t think of anything else, or are running late, or are bored, or end up at a quick serve restaurant. The quick serve restaurant is always a challenge. You cannot imagine the number of blank looks I get when ordering and tell them I don’t want buns. “No, I do not want buns.” “No, no buns.” “You can use salad containers and just put the condiments, meat and cheese in it. It will work fine. I promise you.” “Do I need to go in the back and talk the food prep team on how to do it?” “No, I don’t want the combo/meal. Just the burgers. I know the meal is a better deal compared to buying separately the fries and burger and drink, but I don’t want the fries. And don’t forget, I don’t want the bun either.” What usually happens is Little B and Big D will go find the perfect table and I do the ordering. Not because Big D can’t order. He is extremely articulate. The advantage to to me ordering is my patience – I soooo beat him in that arena when it comes to dealing with ordering food and other people are involved. In contrast, he is most awesome in the patience arena when dealing with me. I tend to be passive aggressive and get stuff pent up until the straw that breaks the camel’s back, and not everyone can deal with it, but he is a magician with me. Okay, on with the dish. Since we avoid traditional buns, and I rarely make low carb buns, the variety in our burger-ness relies on combining meats and the toppings. I was longing for a Tex-Mex feast, but our current situation does not allow for expansive storing of leftovers, which rules out some more bulk preparations of the guacamole, salsa and chile con queso I usually prepare. I did mini versions of the sides, so we ate most of them and storage was not an issue (phew). Also, with my previous exploration into creative meats in burgers, I wanted to do something a little different. Here are my results, which gave me the Tex Mex element, while also giving variety to our burgers with a spicy flair. It may be hard to find good jalapenos in Alaska, but when I do, they are pretty potent. Between the pepper and the ancho chile the burgers definitely left a slow burn in my mouth, and on my lips, and under my fingernails felt the heat to. I was also reminded of those little webbed parts between my fingers that have dry skin but I don’t realize it until I chop up a jalapeno. Ouch but yum!
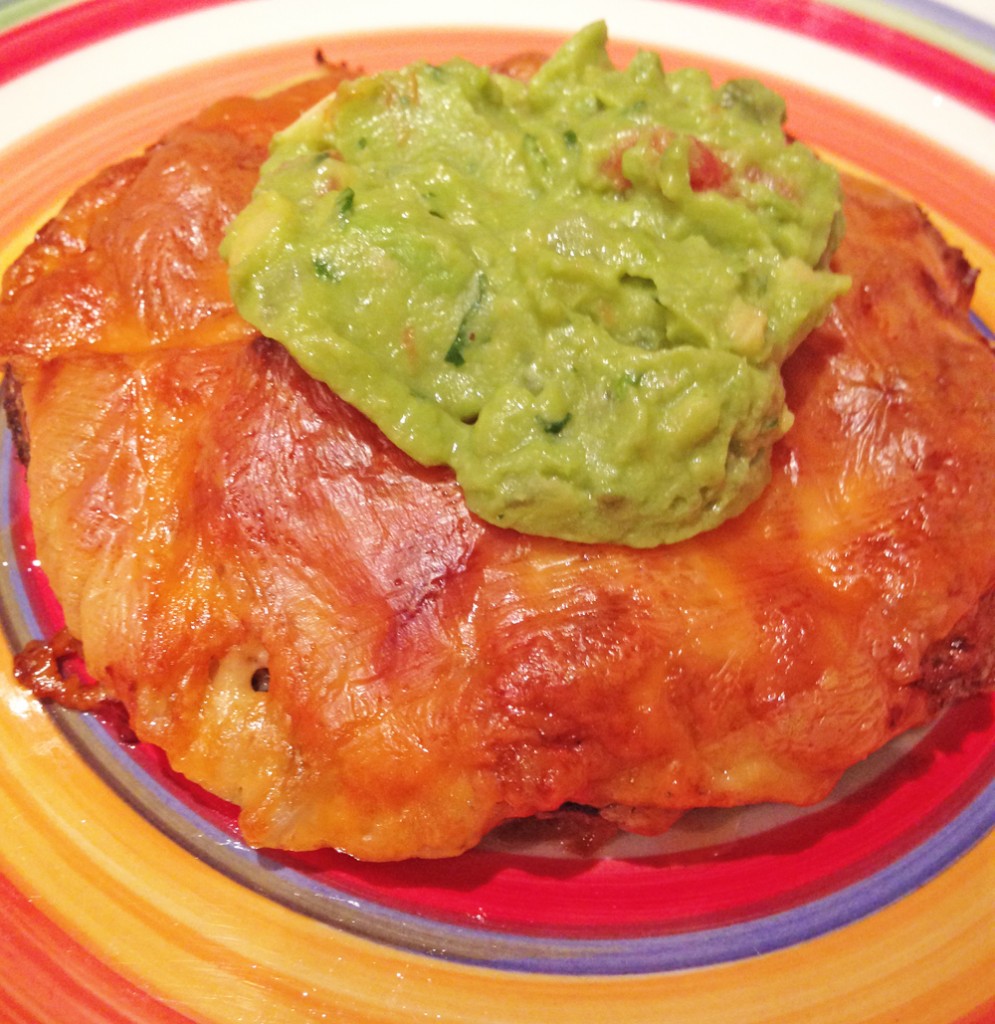
Chorizo Burgers
Burgers
2 pounds ground beef
1 pound chorizo sausage
2 eggs
½ cup fresh cilantro, chopped
3 garlic cloves, crushed
½ tsp ancho chile powder
½ tsp sea salt
1 tsp ground cumin
Condiments
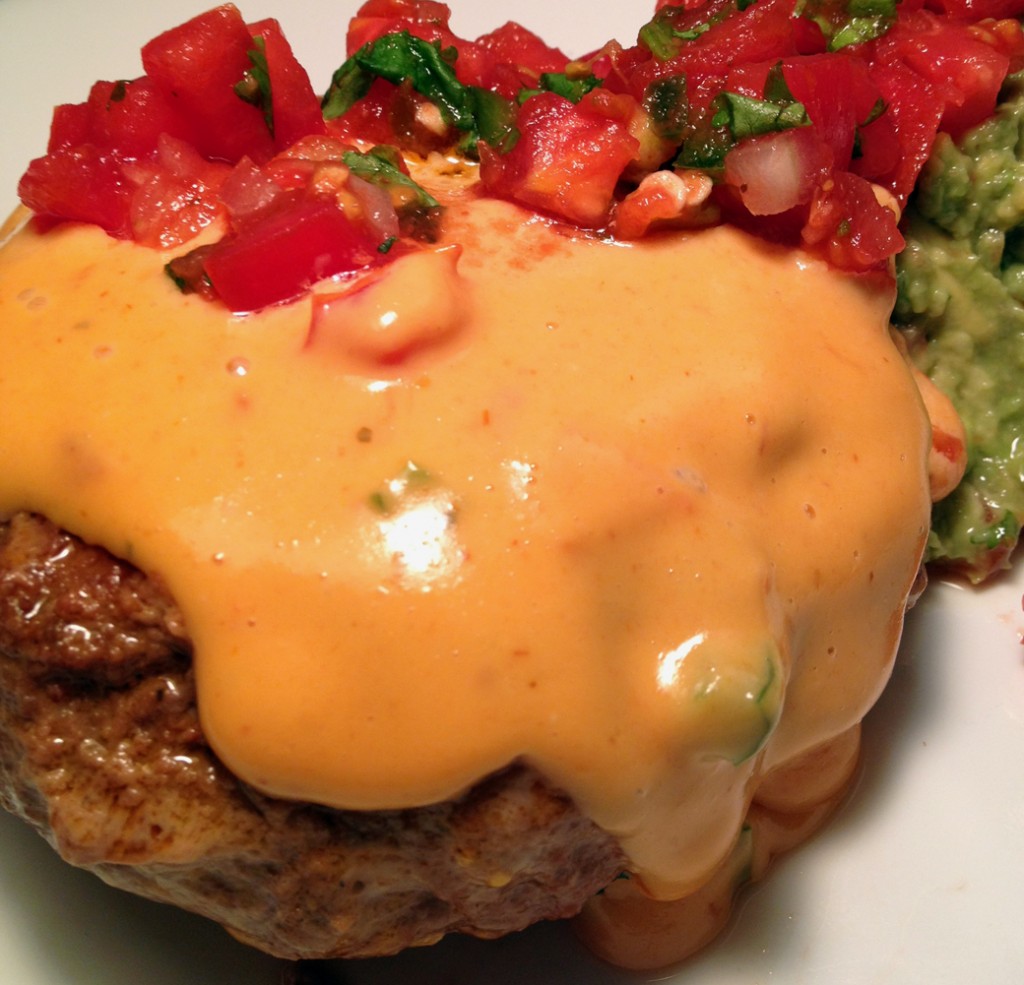
1 batch chile con queso (melt processed cheese block with a can of tomatoes and chiles, add some chopped fresh tomatoes and jalapenos if you like)
1 batch salsa
1 batch guacamole
Prepare all condiments in advance. I did 1/3 batches and they were enough for these burgers, but do full batches if you have the fridge space – they are great the day after! For the burgers combine the eggs, cilantro, garlic, chile powder, salt and cumin. Whisk together until eggs are scrambled. In a large bowl smush together beef and sausage until there are no recognizable chunks of sausage. Add egg mixture and smush some more until eggs, herbs and spices are well combined. Form meat mixture into six or eight large patties. In a large frying pan over medium high heat sear one side of the burgers, about five minutes. Flip burgers and sear other side. Reduce heat by half, cover burgers and cook until done, about eight minutes. When done cooking immediately place a burger on a serving plate and top with queso and guacamole. Sprinkle with salsa and serve. If you have leftover burgers I recommend storing them separate from the condiments.