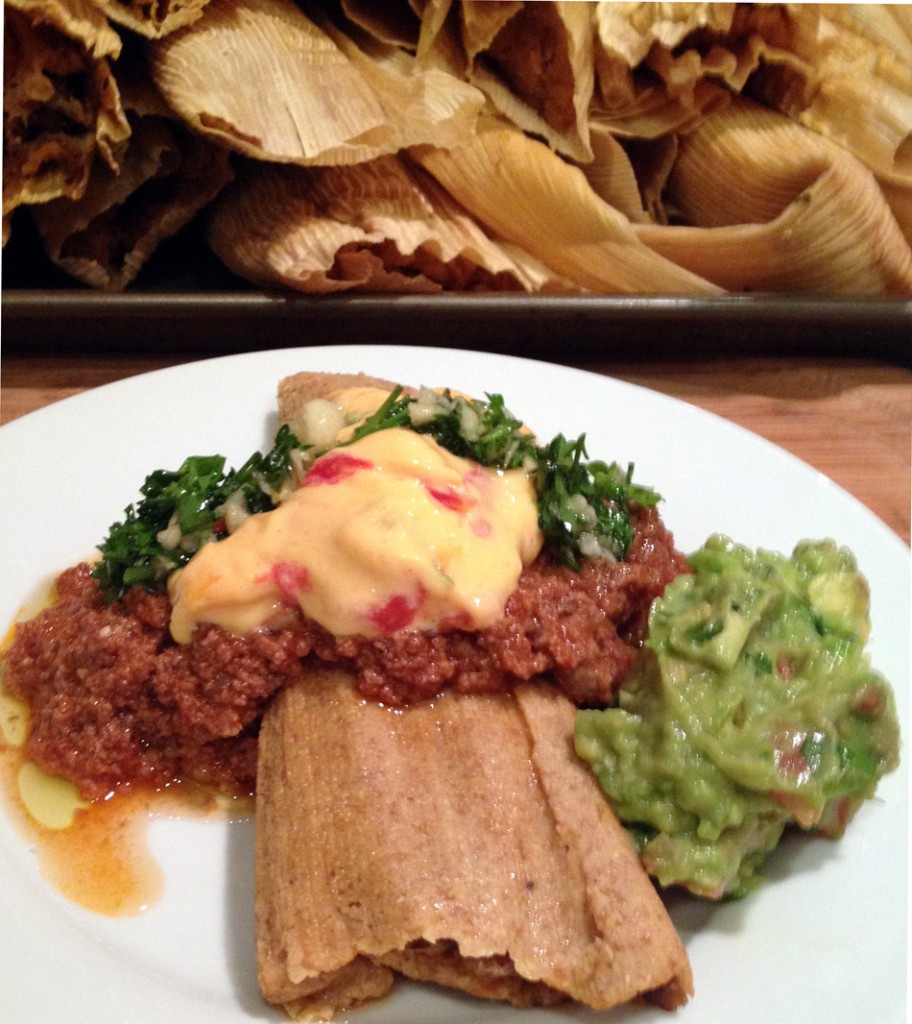
Growing up in south Texas we adopted a Christmas Eve tradition of a tamale feast. This year was no exception. We made enough for Christmas Eve, Christmas Morning as well as New Years Eve! Our tradition used to include purchasing tamales, then piling them with queso, guacamole, meaty chili and chimichurri. A few years ago, when we no longer spent Christmas in San Antonio, there was difficulty finding good tamales. Tamales were available, but they were just off in size and flavor. We had no choice but to start making our own. At the time we made the masa with corn meal, and perfected the flavor of it to wonderfully compliment the pork filling. Now that we are watching our carbohydrate intake, the reliance on corn products is nil, which we wanted to carry over into our holiday tradition. If you have ever had tamales, you know there is a specific texture to masa in a tamale, and there is supposed to be a hint of smoky spiciness to the middle meat filling. Some people may be on the verge of offended when I talk about masa without corn, for the word typically represents a corn-based dough used for all kinds of dishes, including pupusas, tortillas and of course tamales. For our version we used flaxseed meal and coconut flour to achieve the required texture. We also used what may seem like a lot of salt, but with the flaxseed and coconut products it is needed, to give a little help to the pork for it all to work together and carry the spice flavors through to the final dish. The tamales turned out flavorful and robust, able to compete (in a good way) with the toppings, and with a texture almost exactly like corn masa. Big D appeased me by measuring the ingredients this time around so we could record an actual recipe it for posterity. He is usually an eye it, taste it, add more, dash here, sprinkle there kind of cook, so it was a bit of a stretch, but he survived. With my mom visiting for the holidays we had loads of fun showing her the process and had three generations of family in the tamale-making production line, just like things should be. I hope you enjoyed your holidays and consider our scrumptious medley in your future celebrations. We will never forget it and hope to repeat it in the years to come!
Cornless Tamales….What?!
Masa
2 cups coconut flour
2 cups golden flaxseed meal
¼ pound lard, melted
2 eggs
2 Tbsp ground cumin
1 Tbsp garlic powder
1 Tbsp chili powder
3 Tbsp sea salt
5 – 6 cups liquid retained from meat filling
24 – 36 corn husks, soaked in water for at least one hour
Meat Filling
2 pound pork roast
1 small onion, diced
5 cloves garlic, crushed
1 Tbsp cumin seeds
2 jalapenos, diced
1 cup roasted green chiles (canned or fresh), diced
2 chipotle peppers with adobo sauce from can (use about 1 Tbsp of sauce)
1 cup water
2 Tbsp sea salt
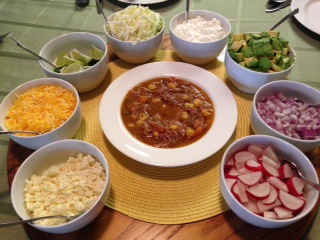
Toppings
1 Batch fresh or canned beef chili
1 Batch Guacamole
1 Batch Chimichurri
Queso (1 pound processed cheese loaf melted with 1 can Rotel tomatoes and chiles)
Sour Cream
Sear sides of the pork roast in a large skillet, then place roast in a crock pot. In the same skillet add bacon grease and melt over medium-high heat. When melted add onion, garlic, cumin seeds, jalapeno and chiles. Cook until seared. Add chipotle peppers and adobo sauce to mixture and continue cooking until combined and heated through. Transfer seared mixture to crock pot over the roast. Add 2 tablespoons of salt and water, then cook roast on low for 8 – 10 hours. Turn crock pot off and let cool for a few hours. Drain liquid and shred meat with a fork, retaining the liquid for masa.
While meat cools make the masa. Combine flaxseed meal, coconut flour, cumin, salt and garlic powder in a bowl. Add lard to mixture and combine into a dough. Add liquid from the meat one cup at a time until it is the consistency of soft peanut butter – you will need anywhere from four to six cups.
To build the tamales pat dry one corn husk, then lay it flat on your work surface. Spread masa evenly in the middle of the husk, leaving 1 – 2 inches clear at the top and bottom, and along one side. Drop a row of pork along the middle of the masa, to the very edges of where it is spread. Gently roll the tamale, making sure the masa completely envelopes the pork in the middle. Overlap the sides of the husk and fold the small end up. A small strip of husk can be used to tie around the tamale to keep it closed, or just lay completed tamales face down so seams to not come apart. Repeat process until you run out of supplies.
In a deep stock pot with pasta/steamer insert, fill bottom of pot with water, but no higher than the bottom of the steamer insert – tamales should not be sitting in water at all. Fill the insert with tamales by lining them up vertically, with folded end down. Place cover on pot and heat to boiling, then turn heat down to simmer, making sure steam continues to rise. Steam tamales for about one hour, until the masa is firm and they are heated through. Remove tamales from pan and lay out in a single or double layer, allowing them to dry out a bit. When ready to eat, unroll the tamales from the husk and eat plain or smother with your toppings of choice.