I wanted to have fun with gelatin. I remember summer gelatin fun as a kid – mixing it with whipped cream, making jiggly things that can be picked up, bowls of shiny, wiggly stuff that falls off a spoon. Little B likes fruity gelatin, so a while back I went in search of what was available at the grocery. If you look at the flavored gelatin packages you will find either sugar or aspartame in them. Really? Aspartame in a product you are expected to mix with boiling liquid? Have they read any of the information about the stuff and the dangers of heating it?? I will get off podium/verge of preaching and move on…
Making some flavored gelatin for Little B from the simple, unsweetened gelatin packets I also found at the grocery, I was reminded of the gelatin shots often consumed at parties in college. The spiked shots in little paper cups were potent and moved fast through the system. The challenge was always getting plenty of liquor in them while making sure they could still firm up. As I am older and tell myself I am more mature, so I wanted to try a slightly more refined version of the shots. Is there such a thing as mature gelatin shots?!
 My favorite cocktail of all time is a gin and tonic. It took a couple of tries to get the liquor/non liquor liquid ratio right, but I figured it out. I highly recommend keeping close to the ratios I present, even if you vary the liquor or flavoring. For example, rum and coke or screwdriver or margarita or…oh boy do I have more experimenting in my near future! My mother in law, who is also a gin and tonic lover, liked them. Sis in law did too! She is usually a sangria kind of gal, leaving gin to the rest of us, but she downed a few. I do agree that they are not a substitute for slowly sipping a tall gin and tonic on the rocks during a hot summer evening, but they were a fun variation to liven up a dinner party.
I remember first seeing the lime presentation in a magazine a billion years ago (well, maybe ten), unfortunately I do not remember where, so crediting it must remain a mystery. Happy summer to you!
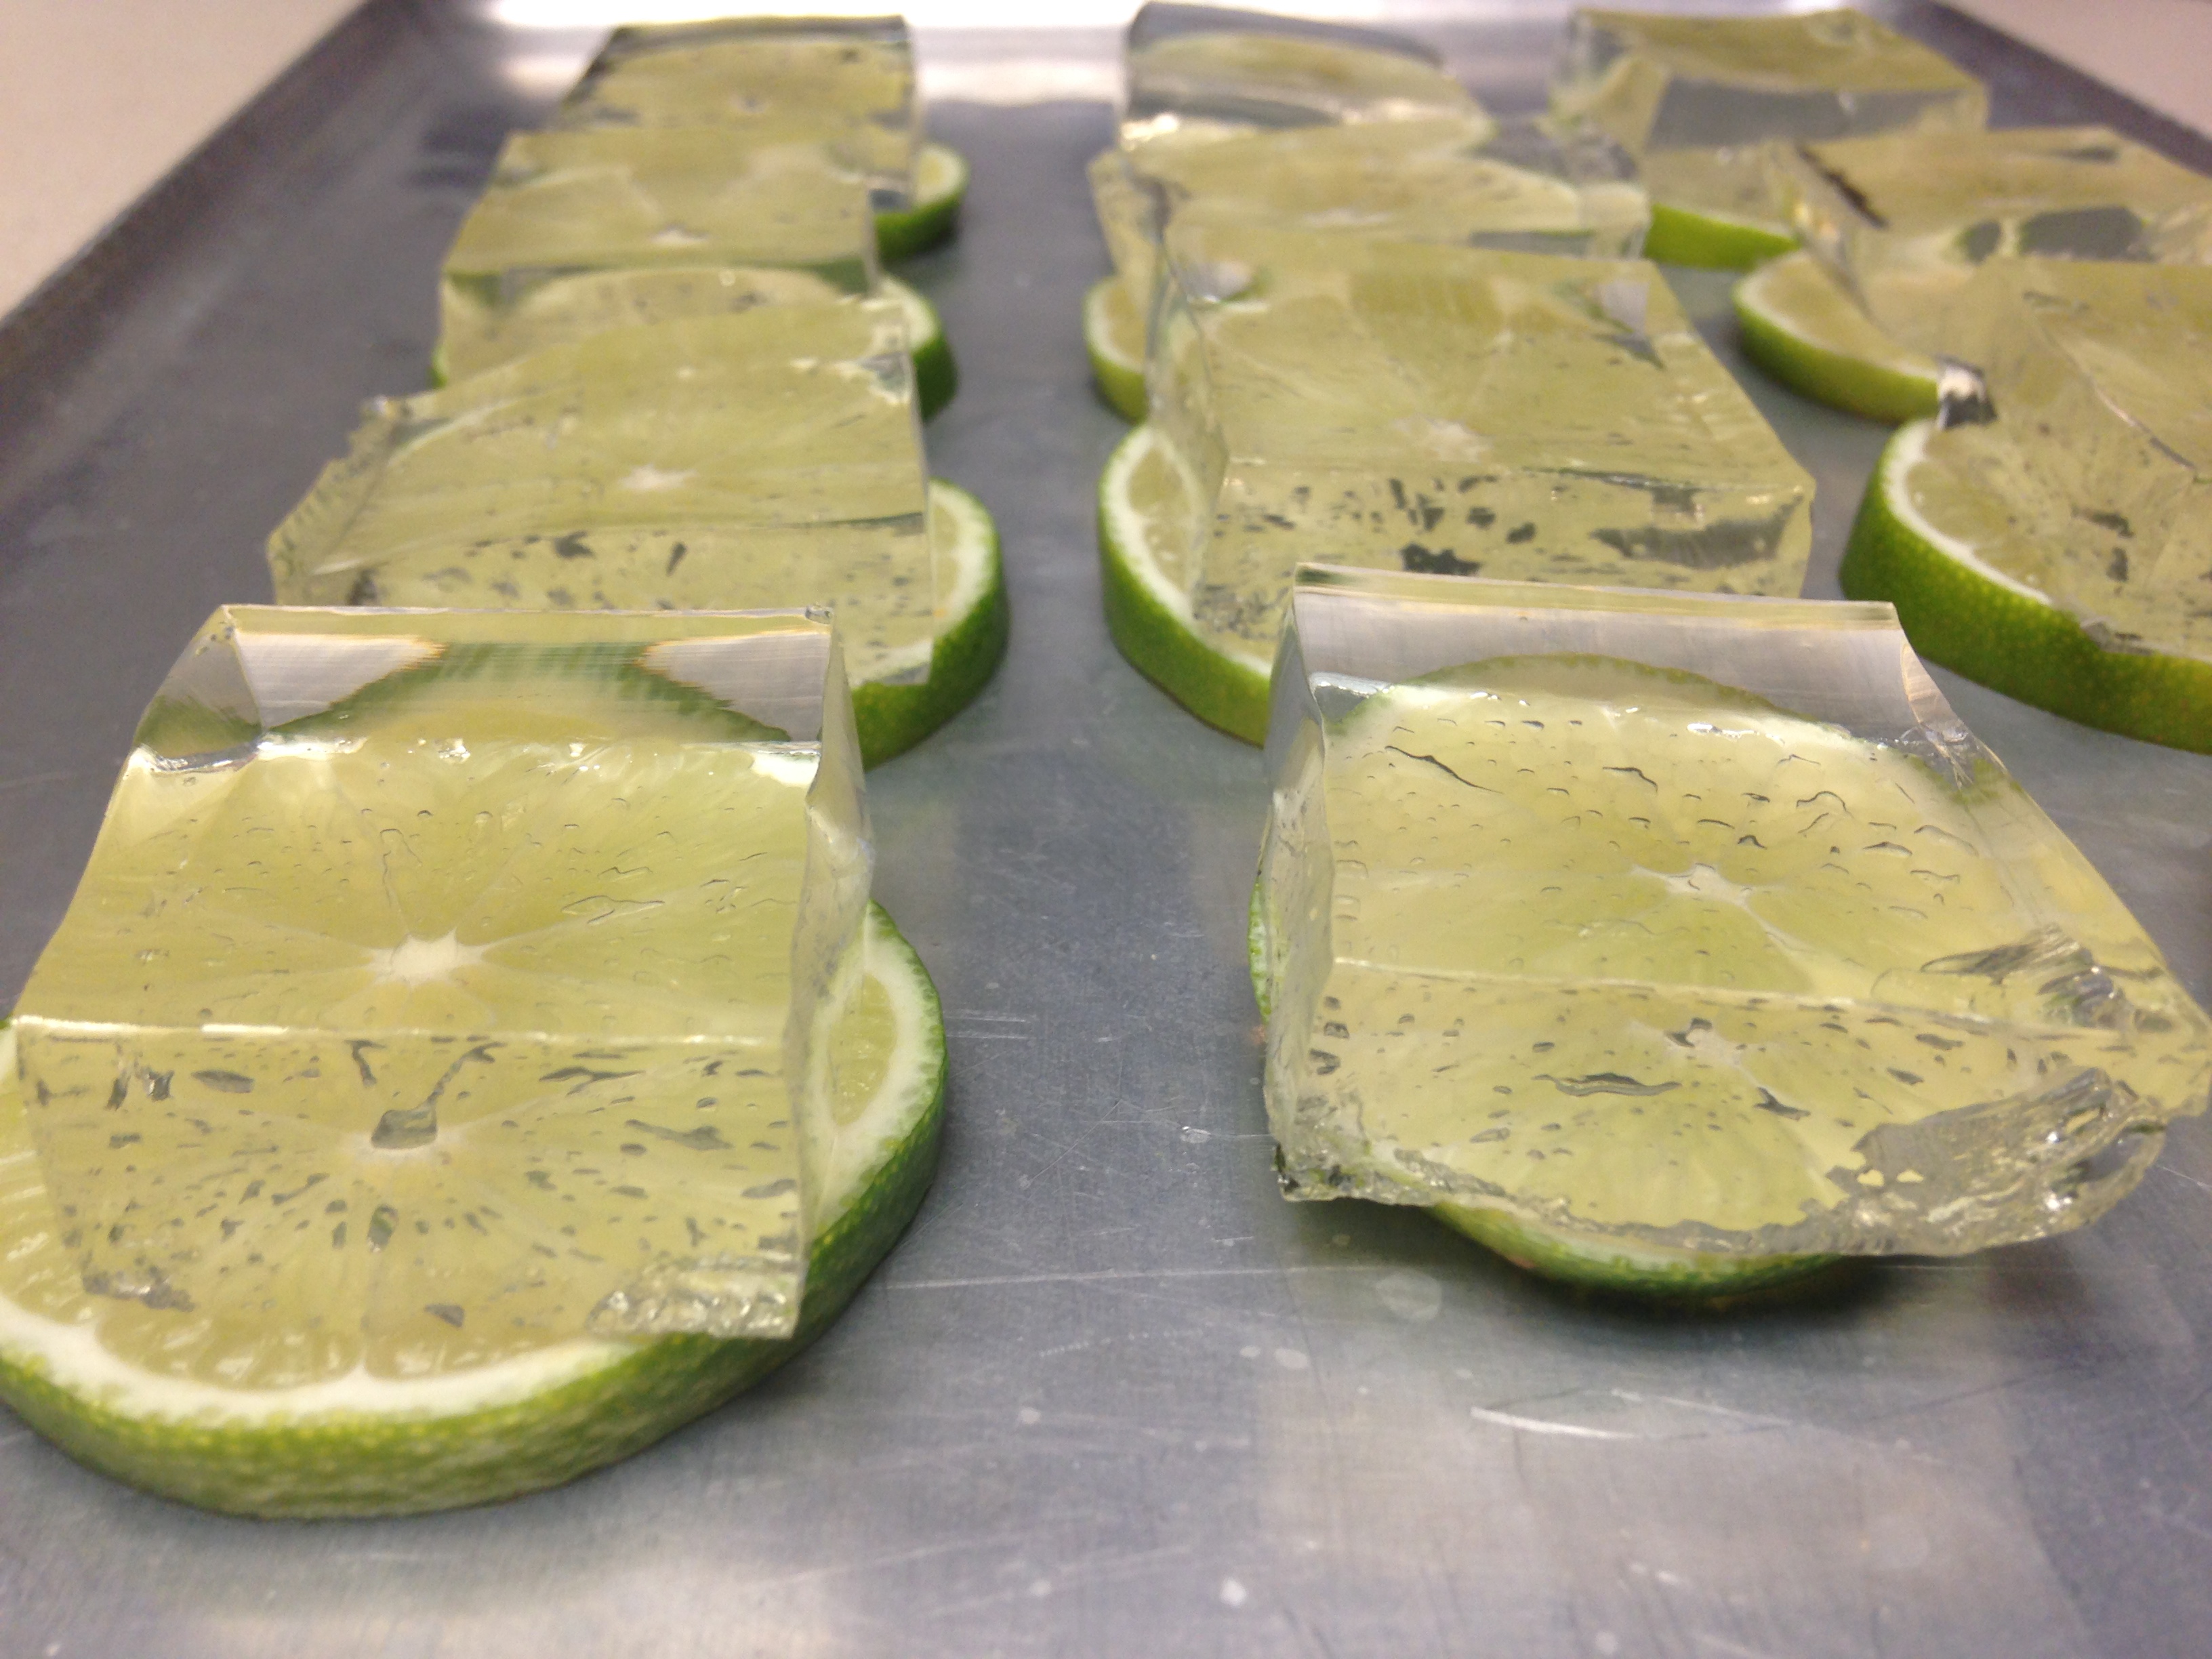
Gin and Tonic Shots
3 cups diet tonic water
2 tsp stevita (or other granular erythritol/stevia sweetener)
6 tsp unflavored gelatin (Knox brand usually has 2 tsp per envelope)
1 cup gin
6-8 limes, sliced into 6 rounds each
Heat 2 cups of tonic water and sweetener until boiling. While liquid boils add final cup of tonic water into a medium bowl. Sprinkle the gelatin over it, letting it sit for one minute. Add hot liquid to bowl and stir until gelatin is completely dissolved. Add gin and stir. Pour mixture into a 9×9 baking dish, or pour into approximately 50 mini paper cups/mini cupcake papers, or split between both methods. If using mini cupcake papers it is suggested they be arranged in mini cupcake pans, for the liquid will seep through. Refrigerate at least overnight.
To serve from the dish, cut shots into 1 to 1 1/2 inch cubes with a sharp knife, removing from the dish with a thin, flexible spatula. Place squares on lime rounds to serve. If using paper or cupcake cups, gently peel away paper and invert them on lime rounds. To eat, tip shot into mouth, then with your teeth fold the lime round in half and bite down, releasing juices to mix with shot. Juice may dribble down chins, but you won’t care.
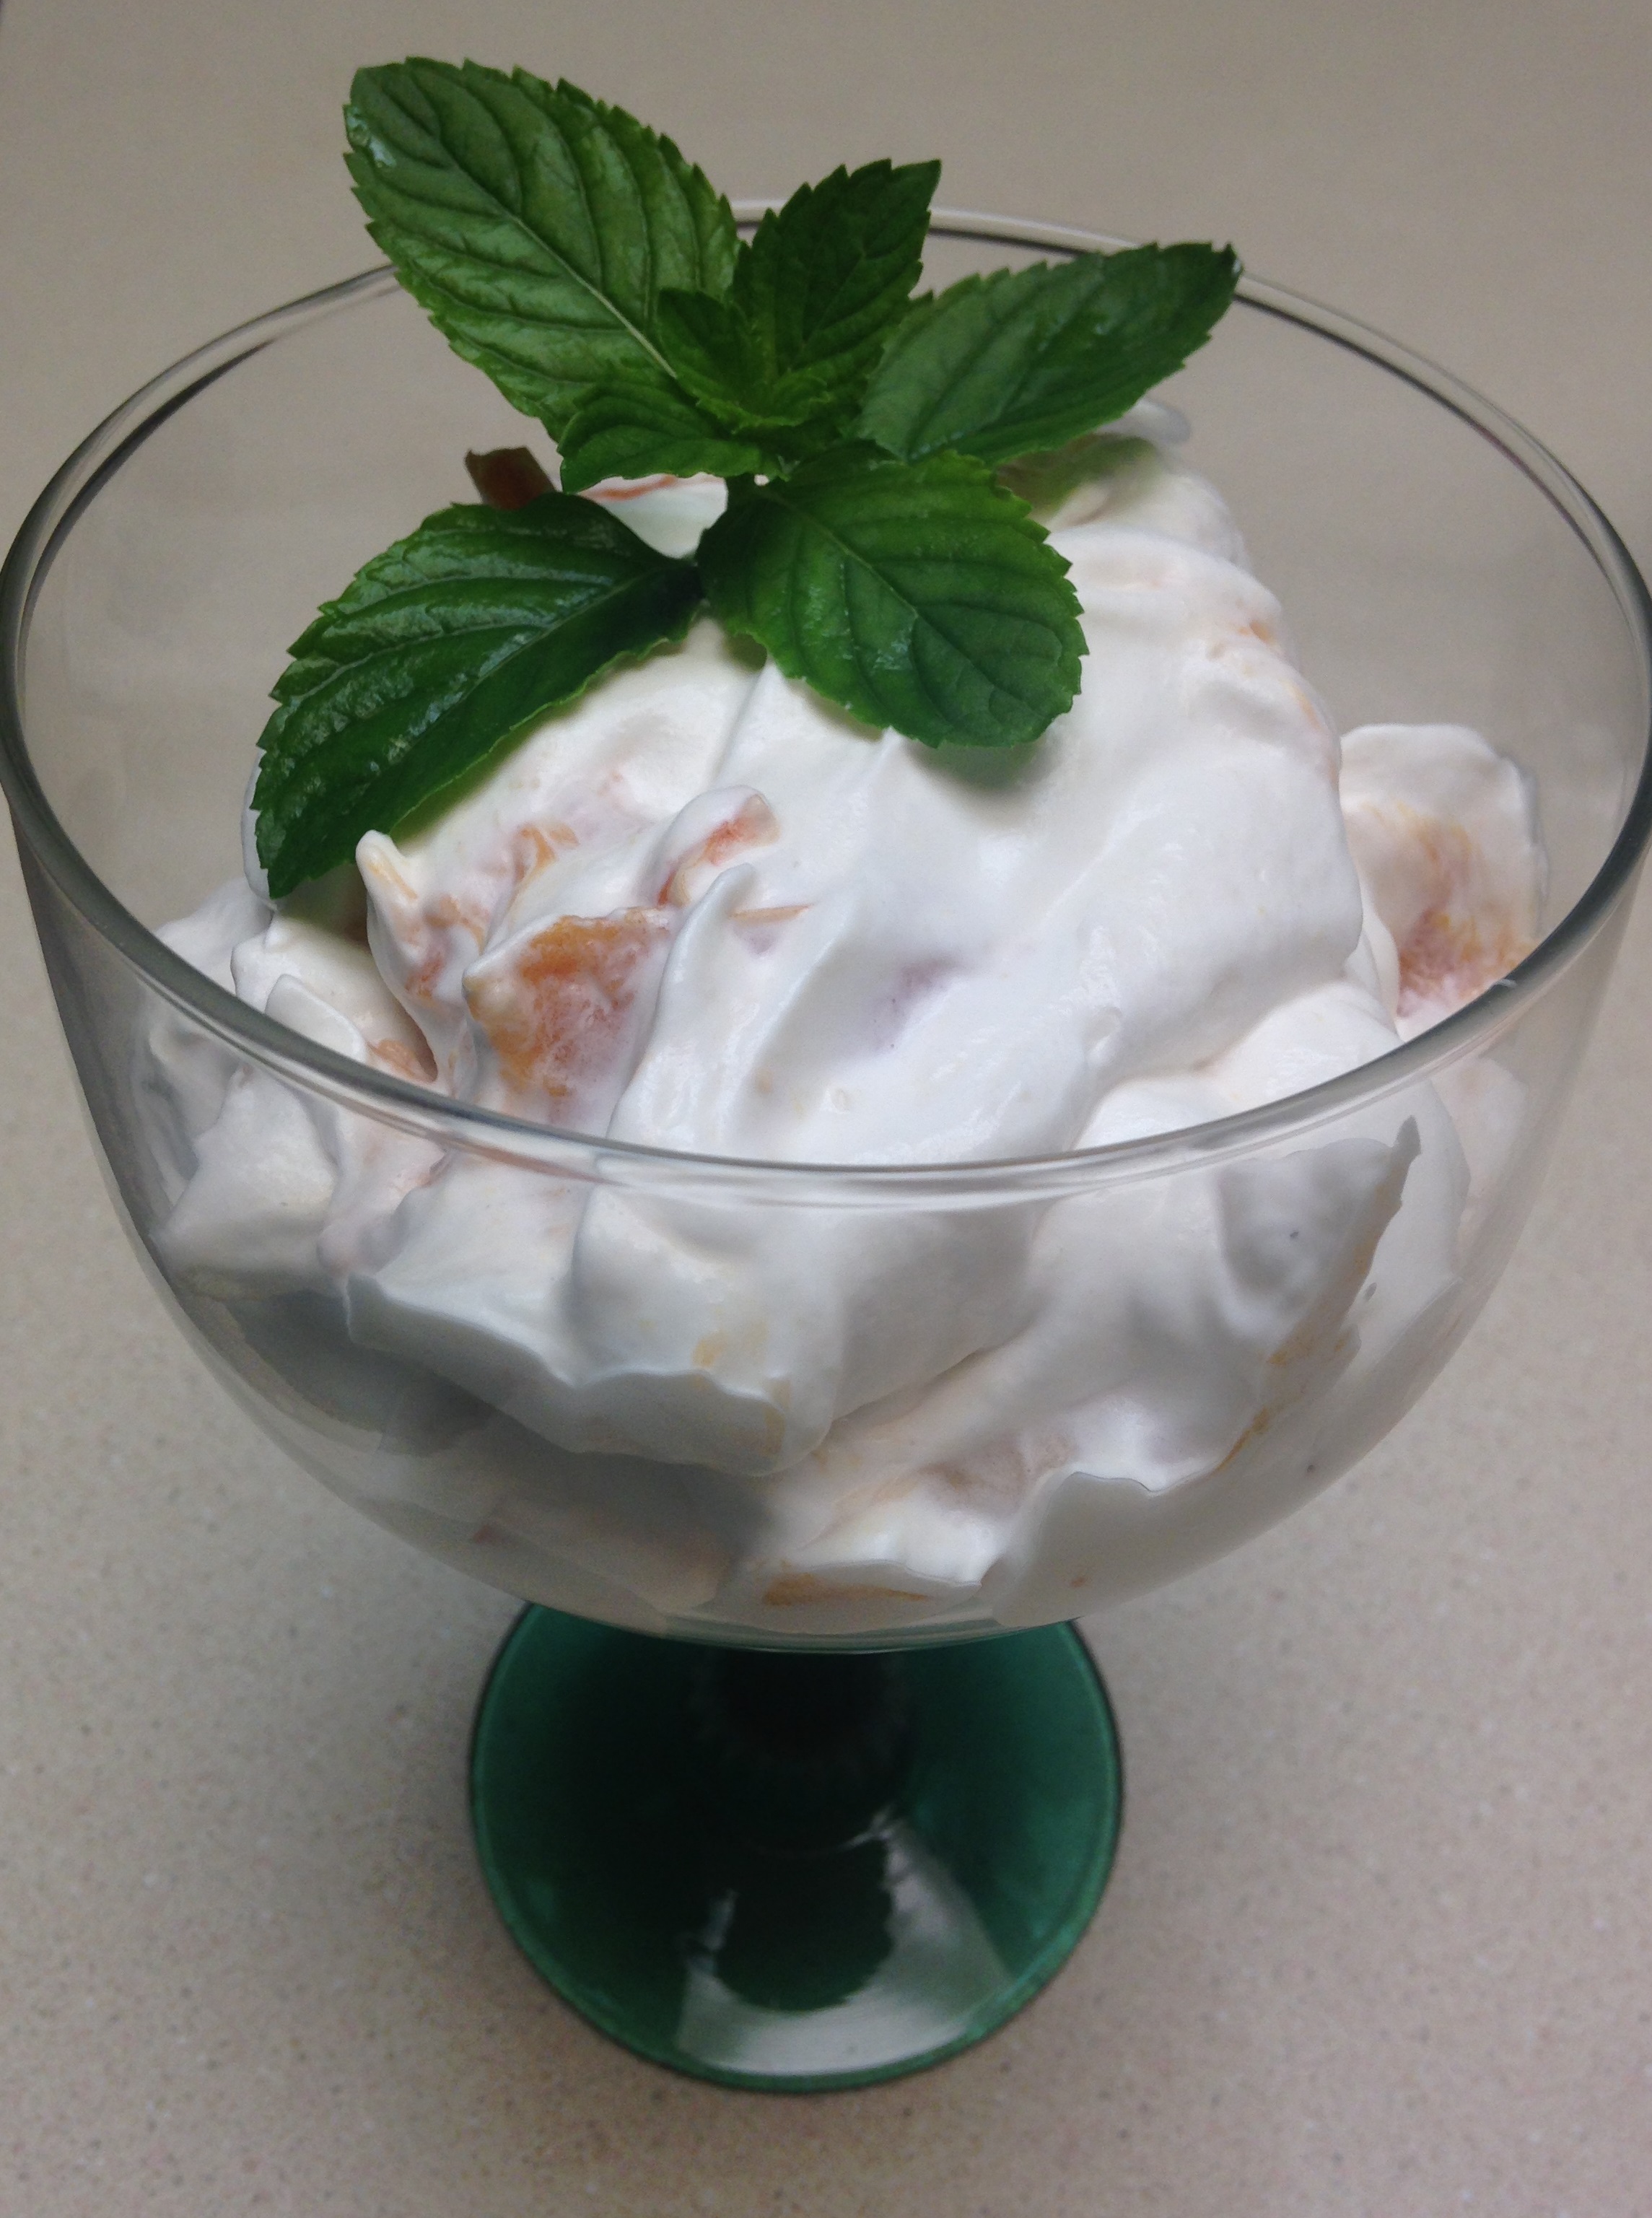
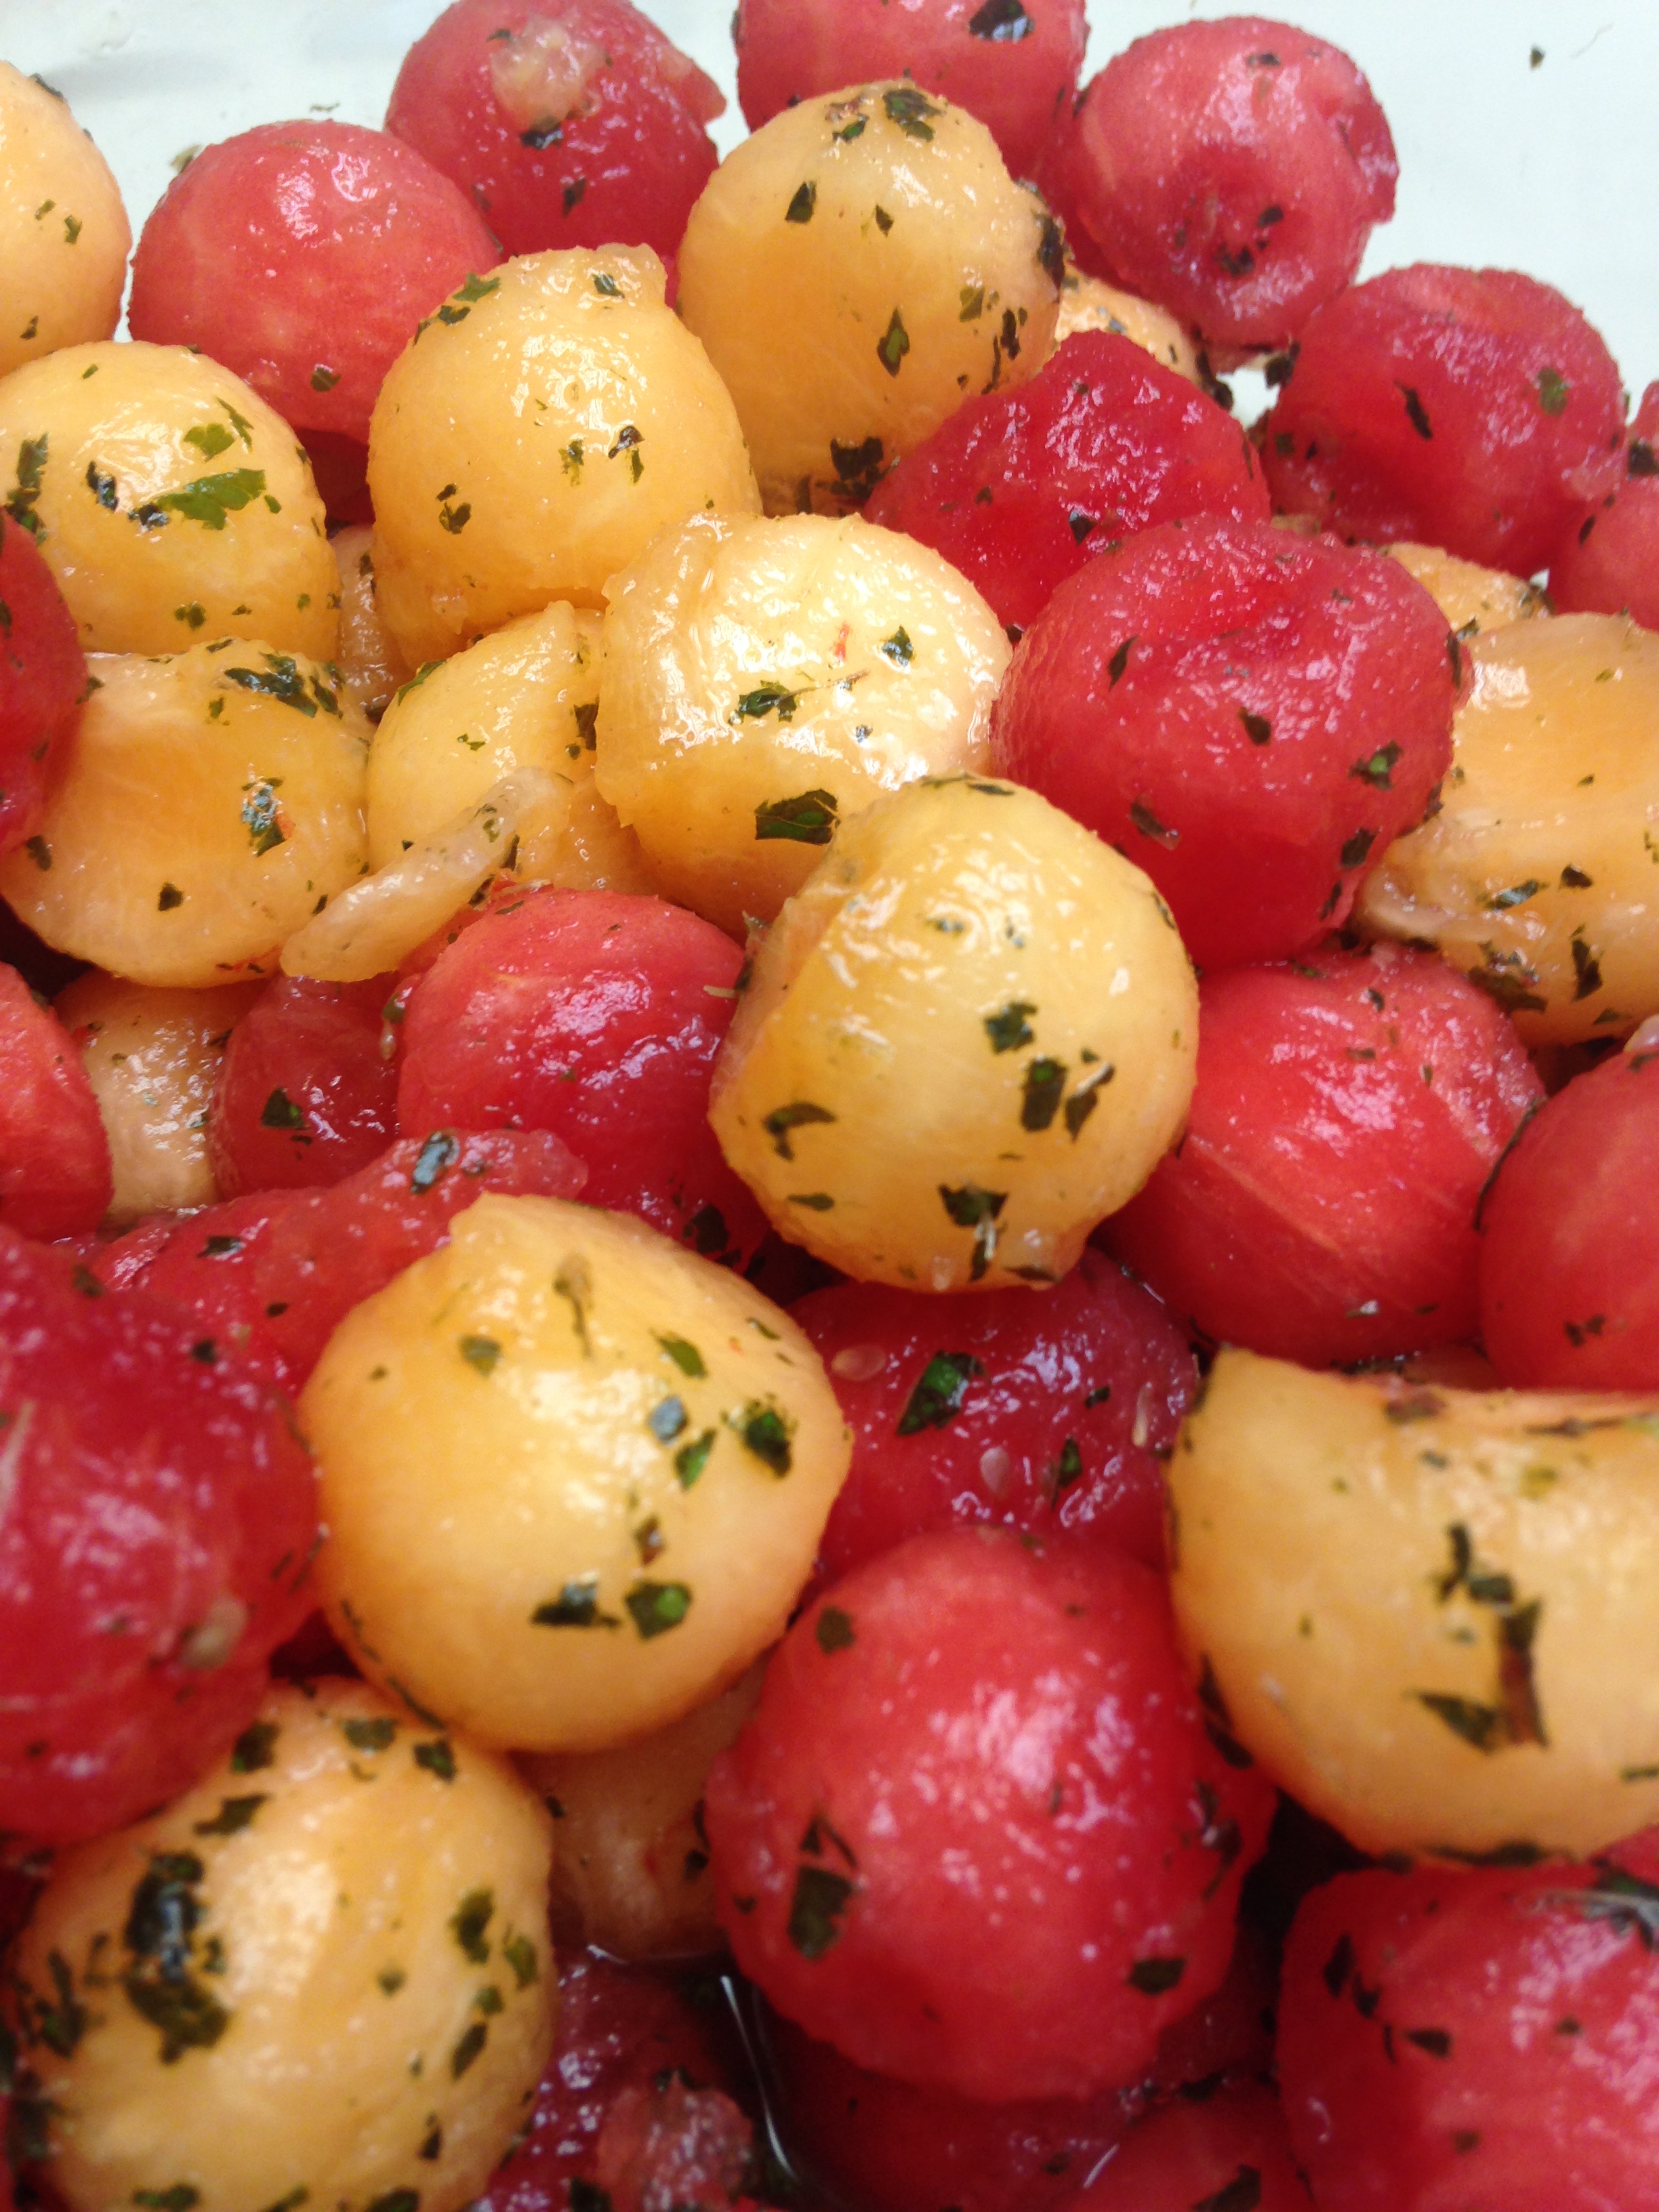 When I was young and helping my parents in the kitchen I steadily graduated from simple tasks to more complicated, (and for clumsy me) dangerous ones. I started with setting the table, then got to put condiments straight from the fridge to the table, eventually graduating to placing crystal and working in the oven and on the stove top. One very typical, simple task I did was melon balling. We often made weekend brunches at home, which included melons when in season. Since we had a cool little melon baller it made sense to us it instead of making boring, square pieces of melon.
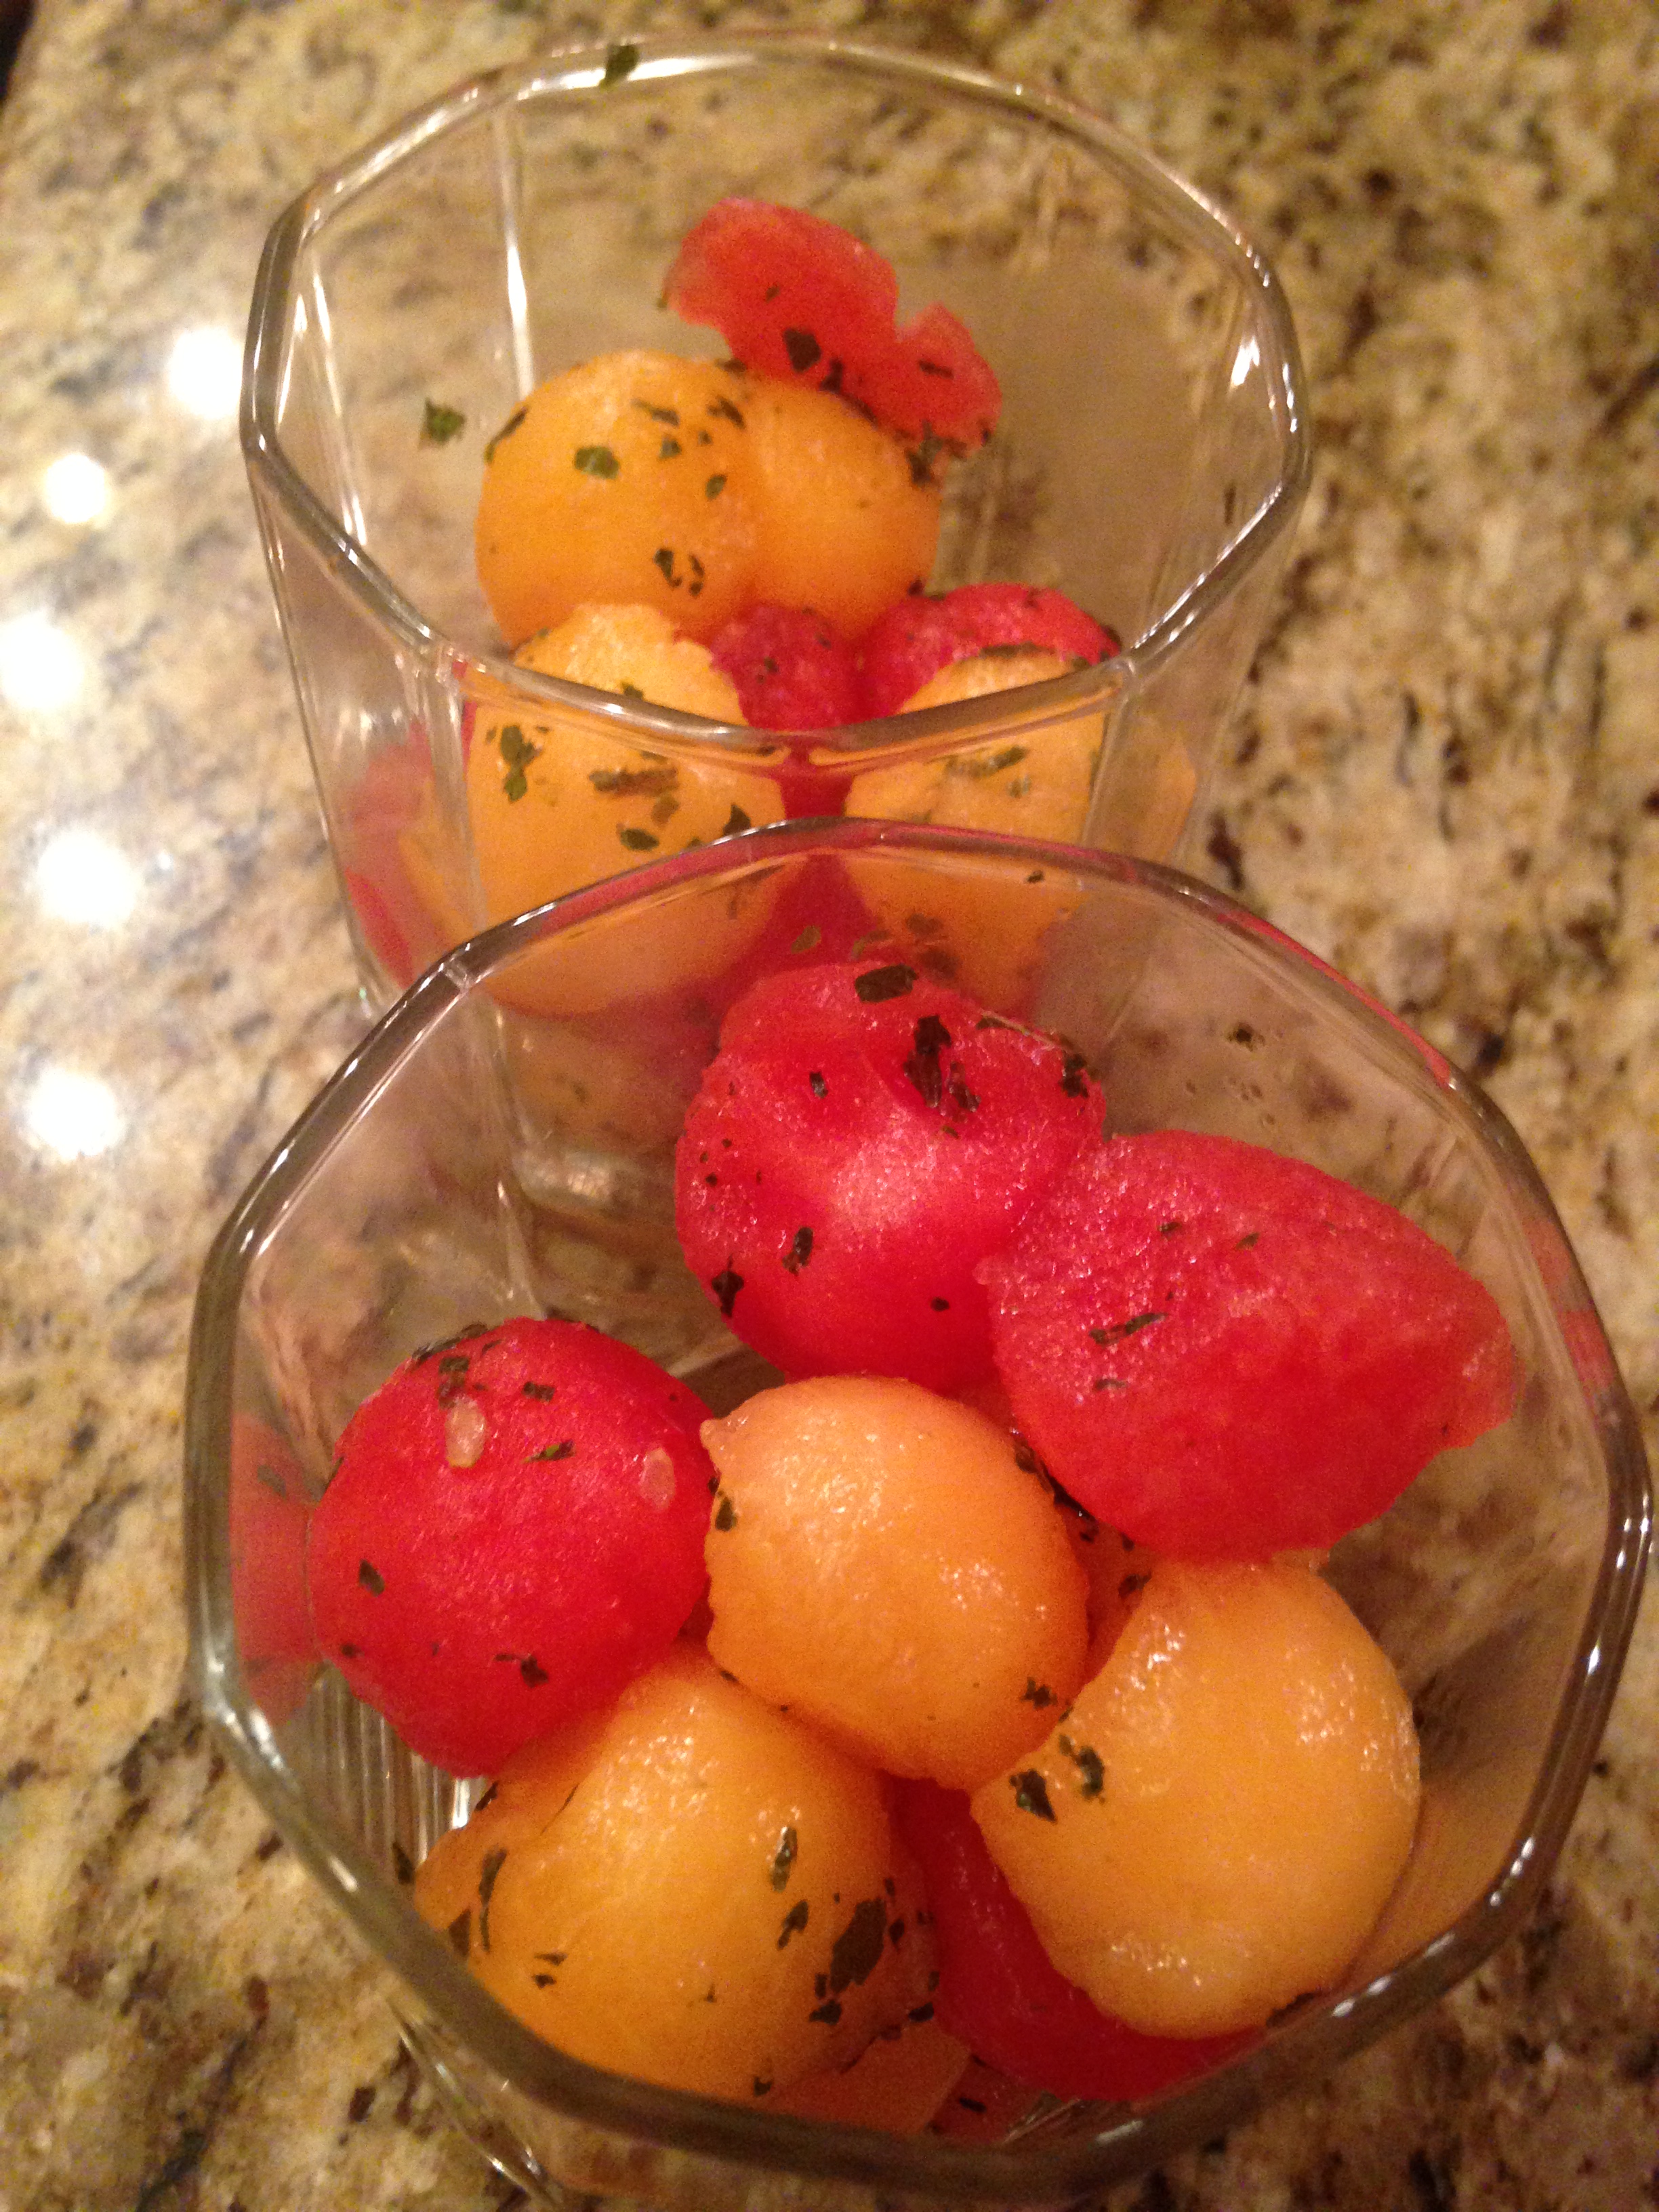 When I made this salad about ten years ago I did not write it down – I don’t remember if someone told me how to make it or I read it, but I loved balling the melons. I made it again recently as a dessert to a burgers and dogs meal while staying at my mom’s house – I even used the old melon baller that was still hanging around! I guessed pretty close on ingredients because tasted just like I remember. It did a great job topping off a hearty meal as we sat around the pit fire on a warm summer night. The mint soothed the full stomachs and the melon refreshed. I strongly recommend it!