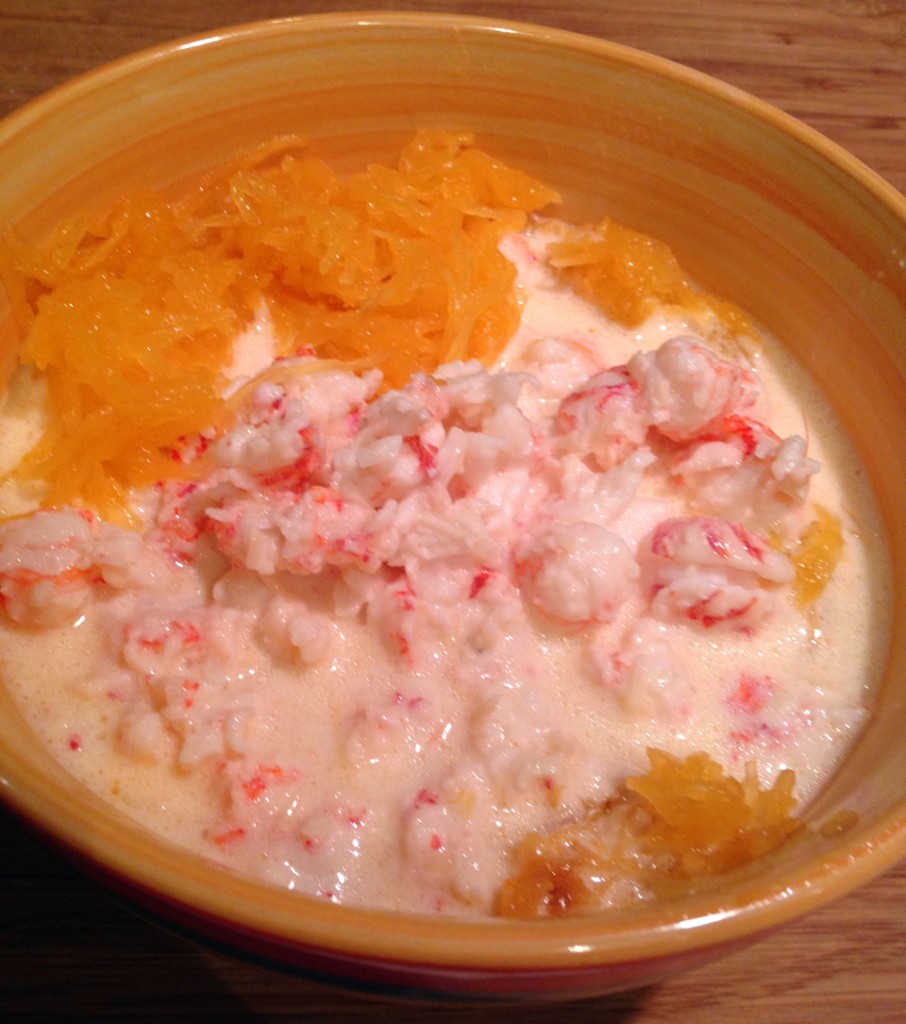
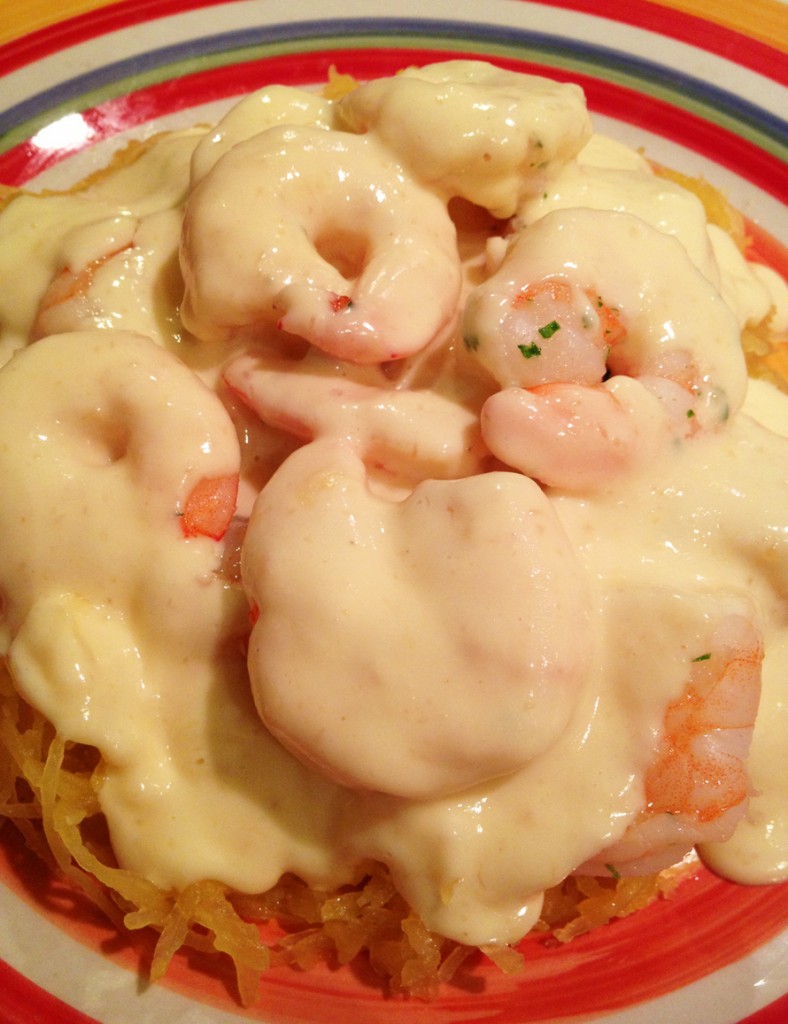
Creamy Shrimp Alfredo
If you had not noticed from the divorce shrimp I made recently, I really like creamy sauces. I love alfredo sauce, although not necessarily on fettuccine, and my favorite pasta dish of all time is spaghetti carbonara. Since I was craving the carbonara and Big D was craving the alfredo, and we were being stared down by the spaghetti squash and shrimp in the fridge, I combined all the pieces into a quiet, Saturday night dinner. Depending on the history you believe, the original alfredo sauce did not actually have any cream, and the original carbonara sauce did not have it either, but I think it all came together in a rich, satisfying dish. I even added a nod to the carbonara’s pancetta with the bacon grease used for the squash and shrimp. Other fats like butter or olive oil or coconut oil could be used, too, but when there is bacon grease available, why? It turned out great and made me want to watch the Godfather or the Untouchables. Salute!
Creamy Shrimp Alfredo
1 1/2 cups heavy cream
1/2 cup butter
2 egg yolks
1 clove garlic, crushed
1 cup freshly grated parmesean cheese
3 Tbsp bacon grease
3 cloves garlic, finely chopped
3 Tbsp fresh parsley, finely chopped
2 pounds large shrimp, shelled and deveined
1 large spaghetti squash
Salt to taste
Preheat oven to 350 degrees. Slice squash lengthwise and scrape out seeds and stringy membrane. Place squash halves face down and place in the oven. Bake for 45 minutes to an hour, until center is soft and edges begin to brown. Remove from oven and let cool enough to handle. With a fork scrape out squash ‘spaghetti’ and place in a bowl. Toss with a sprinkling of salt and 1 Tbsp bacon grease. Set aside until time to serve. While the squash bakes prepare the sauce. In a cold medium sauce pan add the cream and egg yolk. Whisk together until well combined. Add 1/2 cup butter and turn on heat to medium, stirring occasionally. When the butter is melted and sauce begins to steam, but not boil, add the garlic. Continue to stir and avoid boiling. Begin to add the cheese, stirring constantly, about 1/4 cup at a time, making sure it is completely melted before adding more. When all the cheese is incorporated add some salt to taste, if needed. Turn heat down to low simmer and let sauce simmer and thicken, but not boil!!! In a large skillet melt 2 Tbsp bacon grease over medium heat. Add garlic and stir until garlic begins to sweat. Increase heat under burner to medium high. Add shrimp, sprinkle lightly with salt and toss regularly until shrimp begins to turn pink. Sprinkle with parsley and continue tossing until shrimp is cooked through, about three to five minutes. To serve, place a bed of spaghetti squash on a plate, top with shrimp and drizzle with sauce. Serve immediately with parmesean cheese on the side.