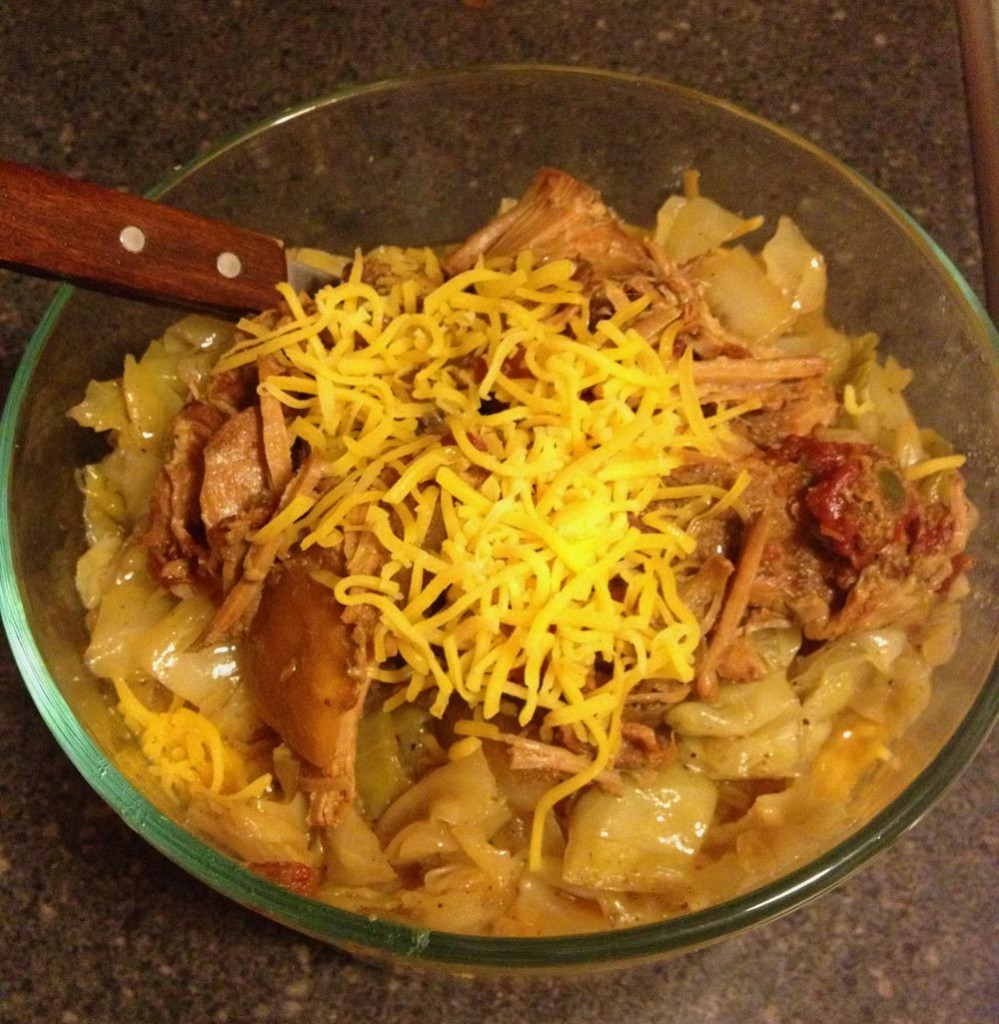
Spicy Pork over Cabbage Saute
I’ve been having some of THOSE days recently. You know, days when I look at my work and personal schedules and cannot seem to imagine getting everything done. Or, a day when the schedule seems pretty light, but then a crisis or four surface and I long for an overly scheduled day. I cannot always see such days coming, but after I have had seven or eight in a row, like recently, I have to make sure I take a breaks. Every day. My breaks often involve cooking or exercise. I need a break for a few reasons: 1) to remind myself that a crisis is only a crisis because I chose to make it so, 2) I get tired and exercise helps get rid of it, 3) clearing my mind helps reduce said crises, and 4) I get hungry, as does my family. Sometimes THOSE days are few and far between. This time of year, pretty much every year, there is a concentration of THOSE days. Here is a dish that can be made in pieces when you have spurts of time to prep, and then thrown together quickly at meal time, regardless of what type of day I have.
Spicy Pork over Cabbage Saute
2 – 3 pounds pork roast
1 14 ounce can tomatoes and chiles
1 red onion, roughly chopped
2 limes, juiced with meat
1 cup water
Cabbage Saute for serving
First thing in the morning (or the night before if planning to eat it for lunch) toss into a crock pot the roast cut up into three or four chunks, after seasoning it with salt and pepper. Pour over the top the tomatoes and chiles, lime juice, water and onion. Move stuff around so all the meat and veggies are mixed up. Set the crock to low and leave it for eight hours or so. Serve over cabbage saute. The cabbage can be made right before serving or make in advance and reheat – it may depend on whether the day is planned to be busy or not planned.