Any Kitchen Will Do

Give me a kitchen and I will cook.

Archive for the month “September, 2012”

Roasted Cabbage

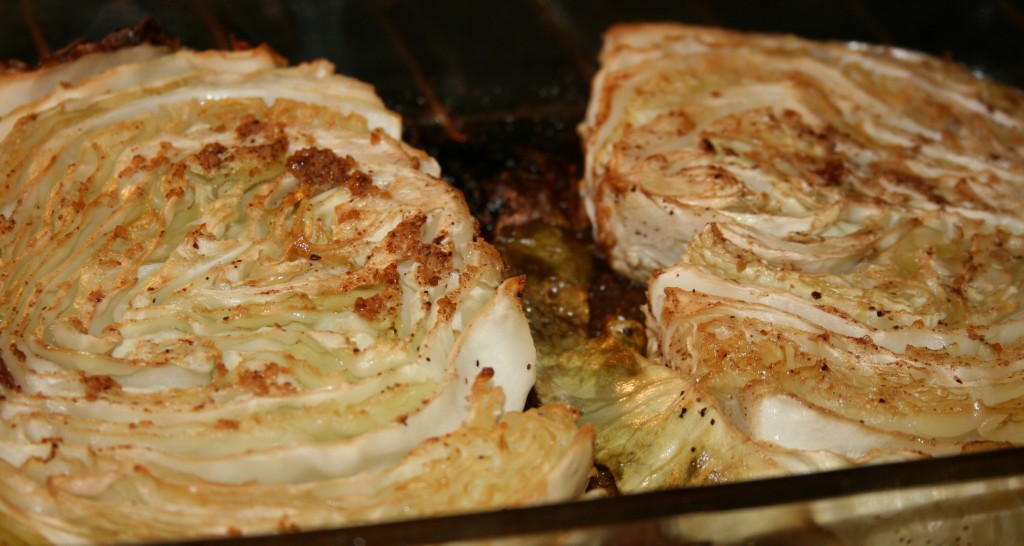
Now this – this is easy and delish! We love cabbage. And not just because it is low in carbohydrates and high in fiber, but because it tastes good, has great texture and marries up with a variety of flavors. It can double the bulk of a meat dish, or fill up the crevices of a stuffed pepper. It can also make a raw salad extra crunchy. Once when we were living in New Orleans I picked up a big head of green cabbage at a farmers market. All the heads looked pretty much the same, but I grabbed one of the smaller ones. Little B was a baby at the time, hanging around in a sling, nestled against me dozing on and off. I was tired from all the baby maintenance. When I got home and started cleaning and trimming the cabbage, it was filling up my sink. I was pretty impressed at the size. It was huge! Filled the sink. We ate on it for a week. Unlike Charlie of the Chocolate Factory, I never had to rely on cabbage water for dinner. I love the stuff. Roasting it in the oven brings out the flavor without getting watery. It is easy to cook up while something is finishing up on the grill. Enjoy!

Roasted Cabbage

1 head green cabbage
1 tsp chopped fresh garlic
1 tsp chopped fresh ginger
½ tsp ground nutmeg
2 Tbsp olive oil
Salt and Pepper to taste

Preheat oven to 375F. Cut the cabbage head in half, leaving the stem attached. Out of each half cut a 1” slice. Trim some of the stem out of the slices, but leave enough to help hold the slices together. Set aside the outer slices for another use. In medium rectangular baking dish drizzle 1 Tbsp of the oil. Sprinkle the garlic and ginger, as well as some salt and pepper over the oil in a shape approximate to the circumference of the cabbage slices. Place the slices in the pan, gently pressing down so the spices are pushed into the cabbage. Sprinkle the remaining oil on the top of the slices, along with more salt and pepper. Bake for about 30 minutes, then flip the slices. Bake for 30 more minutes, or until cabbage is softened to preferred tenderness. Serve immediately.
 

Oniony Omelet

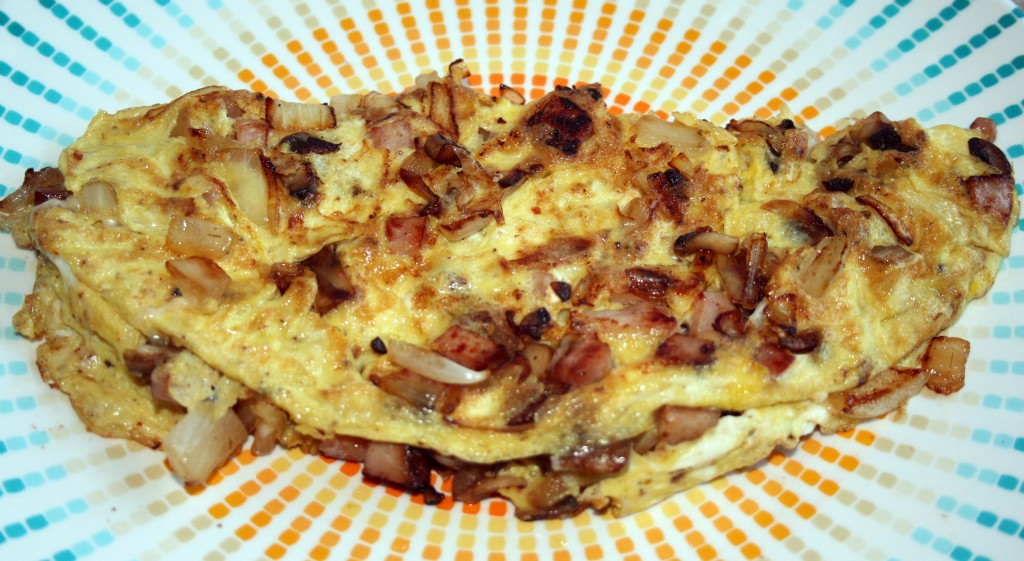
So many weekday evenings there is a need for food, but not necessarily a desire for cooking. Don’t get me wrong, I adore cooking, but sometimes I walk into the house in the evening and just want to collapse and enjoy my family while doing the minimum necessary to prepare for the next day, much less for the evening. That includes dinner. Preparing a quick meal can add to the evening enjoyment, but only as long as it stays quick. The past couple of weeks have included crazy busy long days at work, so the oldie but goodie – breakfast for dinner – is ideal and filling. For me, there is just something about an oniony, cheesy omelet that hits the spot. Slap a couple of tomato slices on the side and dinner is served!

Oniony Omelet

1 Tbsp butter
½ small sweet onion
1 clove garlic, crushed
2 slices ham, finely diced
½ tsp salt
¼ tsp ground black pepper
1 tsp dried parsley
3 eggs, cracked and mixed
½ cup shredded Monterrey Jack cheese

In medium skillet melt butter over medium high heat. Add onion and garlic. Saute for a few minutes until they begin to sweat. Add ham and cook until ham, garlic and onions begin to brown. Add salt, pepper and parsley. Lower heat to medium low. Spread out ham mixture in pan. Pour in egg and swirl pan around to spread it out. Let cook for a few minutes until egg sets. Using a spatula pull egg in from the edges of the pan. When egg from the middle of the pan begins to bubble slide your spatula under half of it and quickly flip it over the other half of the egg, pushing a little from the middle to complete the folding in half. Cover and cook for another minute until the egg is to desired doneness. Serve immediately.


Peanut Butter Chocolate Chip Cookies

As I promised long ago, I am now sharing my old reliable. I came upon it in a cookie cookbook my mom got for me at a school book fair. It was my second cookbook. The first was a cute spiral bound thing with recipes of the world. It was more of an illustrated book, but the recipes were simple and fun for a kid. This cookie cookbook was a whole new world. Real pictures and little squares with facts about ingredients. And the recipes! Oh the recipes! So many to choose from and every one with great results. I always needed cookies for bake sales and parties and such. Bunches of opportunities to cook and learn how ingredients work together. I recently had a need for cookies to take to a party, and made my old faithful. Although I don’t have the cookbook with me right now, I am pretty sure I remember all the ingredients, and they came out great!

Peanut Butter Chocolate Chip Cookies

1 cup peanut butter
1 cup butter, softened
1 cup sugar
1 cup brown sugar
2 large eggs
2 cups flour
1 tsp baking soda
½ tsp salt
8 ounces semi-sweet chocolate chips

Preheat oven to 350F. Cream together peanut butter and butter. Add sugar and combine. Gradually add eggs just until combined. In separate bowl combine flour, baking soda and salt. Add flour mixture in four portions to the wet mixture until blended. Fold in chocolate chips. Drop dough onto non-stick cookie sheets and gently press down into 1 ½ to 2 inch rounds. Bake for 13 – 15 minutes until set and slightly brown on the edges. Store in airtight container.

Stuffed Poblano Peppers

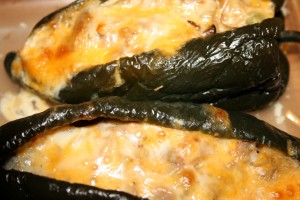
We found a new favorite dinner! Thank goodness I did not have enough peppers to double the recipe, or we would have had to roll ourselves out of the kitchen after eating them all! Did you ever go to a Mexican restaurant, order a chile relleno and end up with a kinda tasteless mound, filled mostly with rice and covered with soggy, sometimes slightly undercooked batter? Here is a way to avoid all that unpleasantness! A little more effort is needed to fill out the other elements of your own combination platter, but here is some help with enchiladas, salsa, guacamole and rice. Since I was not going to dip these peppers in batter I chose not to char and remove the skins – with all the cooking and liquid the peppers were soft and skin inconsequential. This is a a great recipe for using leftover meat and vegetables. It always works great with other pepper types, like cubanelle, etc…

Stuffed Poblano Peppers

4 Poblano peppers
4 ounces cream cheese, room temperature
2 cups shredded pork or cooked seasoned ground beef
1 cup cabbage, cooked and chopped up (or very finely chopped raw cabbage)
1 cup canned diced tomatoes
1 tsp dried oregano
1 tsp ground cumin
1 clove garlic
Salt and pepper to taste
2 cups shredded cheddar and Monterrey Jack cheese
½ cup water
Sour cream and lime wedges for serving

Preheat oven to 400F. Make one slit in each pepper lengthwise. Remove seeds and membrane from inside, careful to leave the stem attached to the pepper. Sprinkle inside of each pepper with salt. In blender or food processor combine tomatoes, oregano, cumin and a dash each of salt and pepper. Puree until you have a smooth tomato sauce. Set aside. Divide cream cheese into four pieces. With the back of your spoon (or your fingers if you don’t mind a little mess) spread the cream cheese around in the cavity off the pepper. In a medium bowl combine the meat and cabbage. Stuff the meat and cabbage mixture in the pepper, making sure the slit does not tear open any more than necessary. Top the meat and cabbage the tomato sauce, making sure it drizzles down within the pepper. Top with the cheese, tucking it in under the edges of the peppers, then gently pushing the pepper edges together as far as you can. In a baking dish just big enough to hold the peppers (9×9 or 8×11) pour in the water, then add the peppers. Cover loosely with foil and bake for 20 minutes. Remove foil and bake for 20-30 more minutes, until cheese begins to brown. Remove from oven and let cool for about five minutes before serving. Top with a dollop of sour cream and a lime wedge for drizzling juice over the stuffed pepper.


Wheat Free Pumpkin Spice Muffins

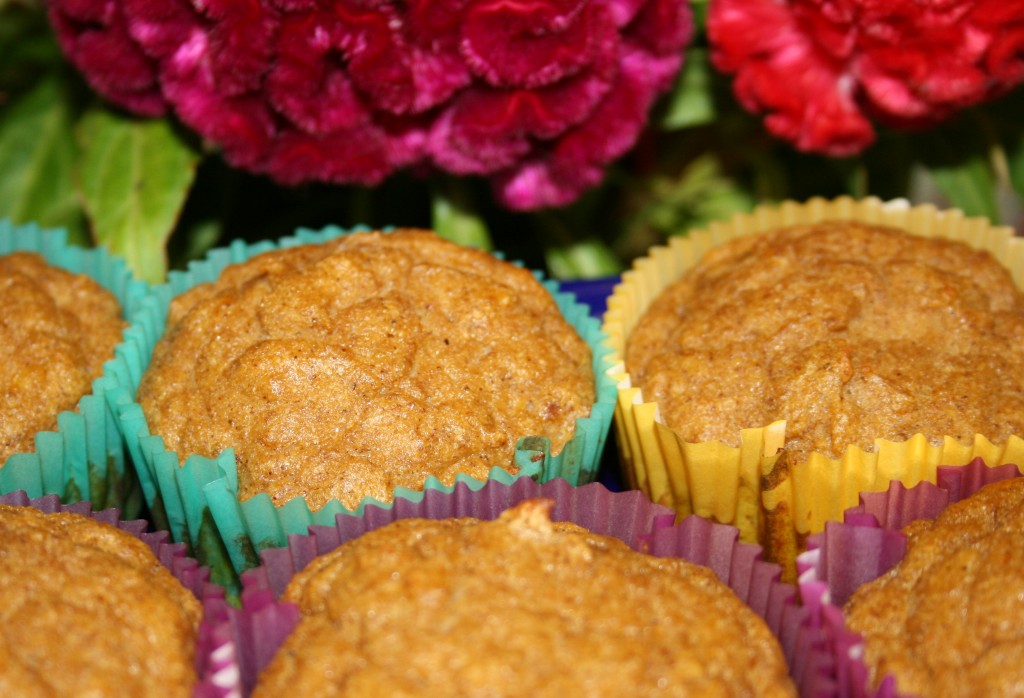
Oh the sweet smell of autumn! The smell of wood fires. The way the whole world looks like sunset all day long with the changing leaves. The rush to do things in the daylight of shorter days. It is so close I can feel it – especially with the windows open and tree tops outside my kitchen window. The smell I most often associate with autumn is spiced pumpkin, whether it is coming from a dish for breakfast, dessert or a hot beverage. The smell wafting through the air is heavenly. Every evening this week I have set a pot simmering low on the stove with water, vanilla, cinnamon sticks and ginger. The whole house smells like freshly baked pumpkin pie. Little B is currently ‘helping’ me clean up while the muffins bake. It may sound odd, but Little B has not often been interested in licking the bowl after batter has gone into baking dishes. Unlike what I recall as a little kid, I was always wanting to savor those little bits in the bowl, teasing me about how the final product would taste. As I type she is going on fifteen minutes trying to get every speck of the batter out of the mixing bowl. Regardless of how the muffins turn out, my house smells delicious and the batter is a success!

Wheat Free Pumpkin Spice Muffins

6 eggs
6 Tbsp butter
2 Tbsp unsweetened coconut milk
1 tsp vanilla
10 drops liquid stevia
5 ounces pureed pumpkin
1/2 tsp sea salt
1/2 tsp baking powder
2 tsp cinnamon
½ tsp nutmeg
½ tsp ground ginger
1/2 cup coconut flour
1 cup powdered erythritol

Preheat oven to 400F. Prepare muffin pan with liners. In mixing bowl blend together wet ingredients. In separate bowl combine dry ingredients. Add dry ingredients to wet ingredients and stir just until combined. Divide batter among the 12 muffin cups. Bake for about 15 minutes until tops begin to brown. Let cool for about ten minutes before serving.

Oatmeal Vanilla No Bake Cookies

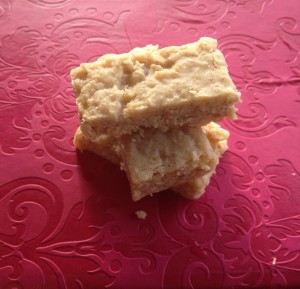
I know I know. This recipe is totally not in line with what I have been making lately, but I have a reason. I wanted to make a little something for people at work, and since 95% of them eat whatever comes there way, I decided to make something with a -little- bit of nutrition, but not exactly sugar free. I took some gluten free sugar free treats for the souls with more sensitive diets, but the majority happily scoffed down these cookies. The result was a big hit, and apparently addictive. I like that. I ate a crumb when I was slicing them up, and wow! One guy at work insisted he really liked the coconut, but I think it was oats, since there is not a speck of coconut in them. Maybe it was a texture thing? His insistence is ironic, considering all the coconut products I use these days. The good thing about this recipe is the fact you can make it from dry goods typically found in your pantry, and staples from the fridge. I would eventually like to try a gluten free sugar free version, but my hunt for sugar free pudding mix without aspartame has yet to be successful…oh well, maybe some day. In the meantime, you now have a recipe that is quick to whip up and will disappear in the blink of an eye!

Vanilla No Bake Cookies

2 cups white sugar
1 tsp ground cinnamon
¾ cup butter
2/3 cup milk
1 (3.4 ounce) box vanilla pudding mix
3 ½ cups quick cooking oats
1 tsp vanilla extract

In a large pan mix together sugar, butter and milk. Bring to a boil. Boil for two minutes. Turn off the heat, add in the pudding mix, oats and vanilla. Let stand five minutes. Drop by tablespoon onto wax or parchment paper and let cool. You can also pour the mixture into a small cookie sheet or baking dish (9×11). Spread evenly and let cool completely before slicing up into desired serving size. Store in airtight container.

Inspired by: http://auntpegsrecipebox.blogspot.com/2012/04/vanilla-oatmeal-no-bake-cookies.html#.UEJBNZbAETA


Another End of Summer Salad

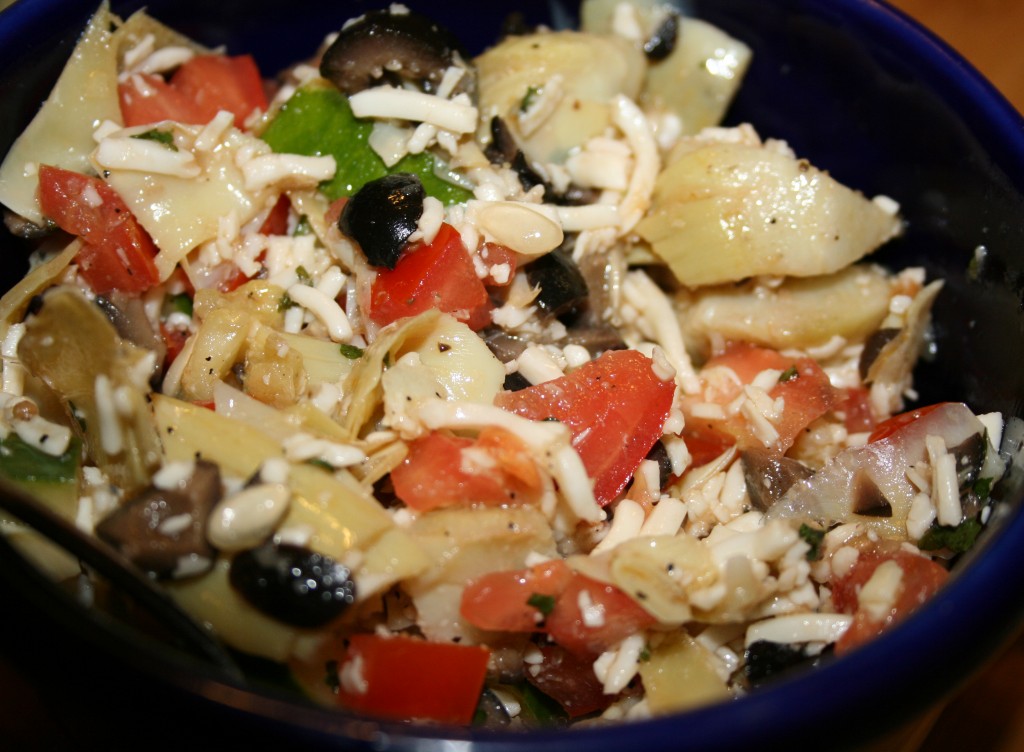
Okay, so I had a little of this and a little of that in the fridge (some of which was left over from making pizza (add link)) and thought they would make a wonderful end of summer salad. Again. It is a bit different from my other End of Summer Salad (add link), but I am really trying to squeeze in the summer produce, so I decided to post it. I know it was recently, like, right below, but this one has a totally different taste. I have to say right now that I absolutely adore my daughter and love how her fine motor skills are improving exponentially while helping me in the kitchen. Now I must also say that I really enjoyed making this salad all by myself – not having to lean over a footstool, without a helper who is learning to use a knife, or a munchkin putting a little too much parsley in the bowl or an imp who insists on measuring and pouring the olive oil from the huge bottle on her own and spilling about half a cup on the counter. While she watched the last bit of Willy Wonka and the Chocolate Factory (1971 version, thank you very much) I snuck in the kitchen and whipped up the salad. I liked doing it by myself as much as I will like the next time she helps break a dozen eggs for a frittata – its just a different way of cooking. Here she comes!

Another End of Summer Salad

3 Tbsp apple cider vinegar
1 tsp sea salt*
½ tsp ground black pepper
1 Tbsp dried parsley leaves
1 tsp garlic powder
½ tsp onion powder
Dash of dried red pepper flakes
4 Tbsp extra virgin olive oil
2 medium tomatoes, rough chopped
½ large cucumber, rough chopped
1 cup artichoke hearts, rough chopped
½ cup chopped black olives
1 cup shredded Monterrey Jack, Feta or Parmesan cheese

Add first seven ingredients in small bowl. While whisking the vinegar mixture gradually add olive oil until well combined. In medium bowl add tomatoes, cucumber, artichoke hearts, olives and cheese. Drizzle dressing over vegetables and stir until evenly distributed. Chill for at least 20 minutes. Toss again before serving.

*If you use Feta or Parmesan cheese you may need less than 1 tsp of sea salt, since they tend to be stronger flavored cheeses.

End of Summer Salad

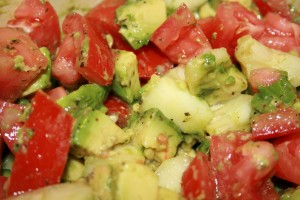
As the temperatures gently creep lower I tend to linger over the fresh, seasonal summer produce at the markets. I know some of it, although sadder looking, will be around pretty much year round. Some will have faded colors or less flavor. Others will just get more expensive. I look forward to the squash and root vegetables that are already becoming more prevalent, but I currently plan on cherishing the last of the bright tomatoes, abundant cucumber and perfect avocados that have become a habit over the past few months. Here is a wonderful, simple, soft salad that fully appreciates some of the summer fruits that we often call vegetables. Enjoy!

End of Summer Salad

4 Tbsp extra virgin olive oil
2 Tbsp apple cider vinegar
1 small bunch basil leaves, finely chopped
1 tsp sea salt
1 tsp ground black pepper
½ lime, juiced with pulp
2 ripe Hass avocados, peeled and coarsely chopped
3 roma tomatoes, cut into about 20 pieces each
½ large cucumber, peeled and coarsely chopped

In a small bowl combine the first six ingredients. Set aside. In a large bowl combine the avocado, tomato and cucumber. Add dressing and stir gently, trying not to smash tomatoes or avocado too much. Chill covered for about an hour before serving.

Post Navigation