Any Kitchen Will Do

Give me a kitchen and I will cook.

Archive for the month “January, 2012”

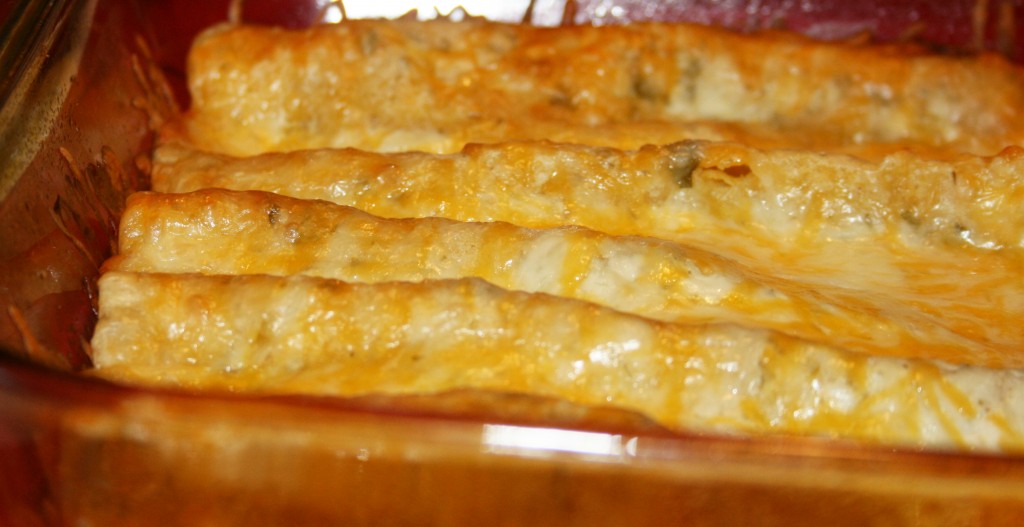
Chicken Enchiladas with Cilantro Cream Sauce

My tex-mex run is coming to an end. I promise. I am ending it (for now) with a pleasant flourish. When offered enchiladas there is usually a choice between cheese, beef, chicken or spinach. I usually want chicken/spinach enchiladas, so I just go -harumph- and choose between the two, or abandon both and go for cheese. I am not complaining. It is not a curse to have four good options to choose from. There just has to be a choice made, or I resort to a combination plate that mixes them all, which also means mixing the sauces and not really getting a pure, committed bite of any one enchilada from a crowded plate. I do not usually ponder the nuances of enchilada purity, but I live where there exists only mediocre Mexican restaurants, so my mind wanders to places it normally wouldn’t. Here is my solution for being surrounded by mediocrity:

Chicken Enchiladas with Cilantro Cream Sauce

1 pound cooked, shredded chicken

4 ounces roasted green chiles, chopped

1 cup cooked spinach, well drained and chopped

8-10 ounces shredded cheese blend (such as monterrey jack, mild cheddar and asadero)

Dash of salt

10 corn tortillas

1 bunch fresh cilantro (leaves only), chopped

1 clove garlic, crushed

1 lime, juiced

1 cup heavy cream

¼ cup sour cream or Greek yogurt

1/2 cup chicken stock

2 tsp oil or butter

Preheat oven to 350F. In a small bowl combine heavy cream, sour cream, chicken stock, lime juice, garlic and cilantro. Stir together until well mixed. Set aside. Grease shallow baking dish with oil or butter. Spread a thin layer of the cream sauce in the bottom of the dish, leaving enough to cover the top of the enchiladas. Combine together chicken, chiles, spinach and about half the cheese. Season with salt to taste. Warm the tortillas right before rolling to make them easier to work with. Place in a tortilla about 1/3 cup of the filling, roll it up and place it seam side down in the dish. Repeat with all tortillas until pan is full. Pour sauce over filled tortillas. Sprinkle remaining cheese over the top. Cover with foil and bake for about 20 minutes. Uncover and bake another 10-15 minutes until enchiladas are a golden color on top. Remove from oven and let cool about five minutes before serving.
 

Mexican Rice

I used to think of Mexican rice as the bland, tomato-y part of my school lunch I did not eat. Then, it was the sticky stuff that always came with a Mexican meal, but I always left it for last in case I filled up on other stuff, and I always did. I don’t have anything against rice, but it is a starchy filler that is often my last priority after protein, fruits and vegetables. If I don’t like how it tastes I am not going to eat it. I am a big girl and sometimes choose to leave food on my plate.

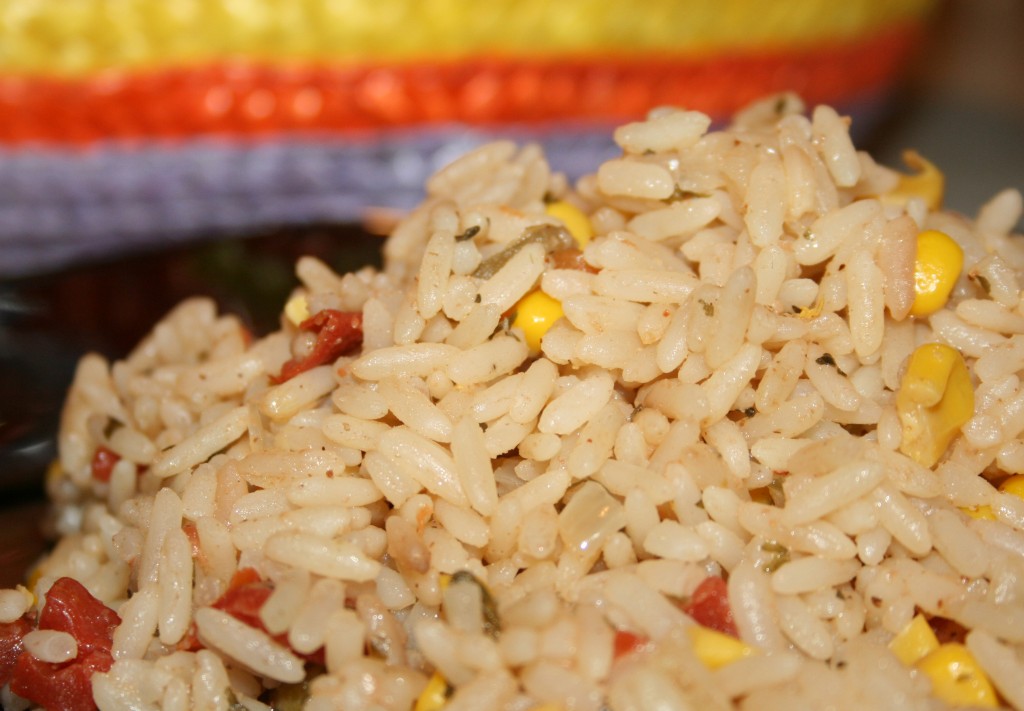
Now I make my own Mexican Rice, which is not very red, not very sticky, not very bland and has just the right amount of vegetables in it. You may think using both green chiles and jalapenos is an overdose on heat, but it really isn’t. The jalapenos make it smoky and the chiles make it tangy, and both flavors are soaked up by the rice and spread throughout the dish. Just try it.

Mexican Rice

2 cups uncooked parboiled rice

1 Tbsp butter

2 cups water

2 cups chicken broth

1 tsp salt

½ tsp chili powder

1 tsp ground cumin

1 Tbsp fresh cilantro, chopped

1 Tbsp fresh parsley, chopped

1 small onion, diced

1 small tomato, diced

4 ounces green chiles, diced

1 cup corn, removed from cob

½ jalapeno, diced (optional)

Melt butter over high heat in medium pot. Add onion, jalapeno (if being used) and corn, cooking until the corn browns and the onion begins to sweat. Add rice, salt, cilantro, parsley and chili powder and stir until rice begins to brown. Add tomato, chiles* and corn, stirring until blended. Add water and chicken broth*, bringing the mixture to a boil. Lower heat to a simmer and cook until liquid is absorbed, about 20 minutes. Let set for about five minutes before serving.
*Sometimes if I am lacking for fresh chiles and tomatoes I will use a can of Rotel tomatoes and chiles instead. I drain the can and retain the juice for use as part of the water and broth liquid (within the four cups needed) to cook the rice.

Tortilla Steak

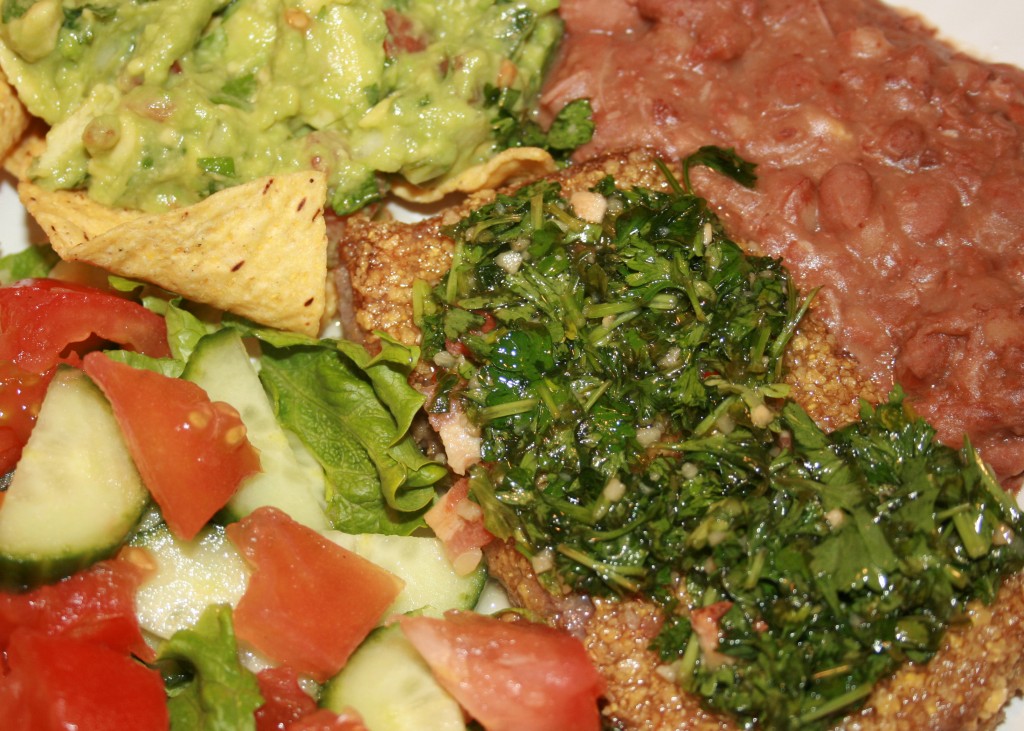
I don’t know about you, but when I make a big batch of beans, and chimichurri and guacamole I want to mix it all up on one plate and have a feast. Here is what I did for my latest tex-mex feast. I was inspired to make this steak by a Japanese based cooking show – sort of – an Iron Chef America episode. If you know anything about Iron Chef, you probably know it was started in Japan in the ’90s by Takeshi Kaga, who pit Japanese chefs from the different regions of Japan to compete others touted as Iron Chefs. The twist of the competition is a secret ingredient presented at the beginning of the show which the chefs must use in four creative, delicious dishes in one hour. Judges then taste and score the dishes and a winner is declared. Many of the ingredients in the original Japanese show are interesting to say the least. I don’t commonly cook with eel or octopus, and only eat them as part of a sushi feast, but some ingredients were more familiar to me, like corn, mushrooms or noodles. The secret ingredients in the recent inspiring episode were very familiar – tequila and corn tortillas. One dish, a pork cutlet, was breaded with crumbled tortillas. In my constant quest to find good recipes without wheat, the breading idea intrigued me. Tortilla chips are a constant presence on our kitchen counter – what a coincidence!

Instead of deep frying pork like they did on the show I chose to flash fry the steaks on the stove top. I use the term steak here very loosely. When I think of steak I immediately picture a thick ribeye, seared over a wood fire and medium-rare in the middle. In the tex-mex world I knew from growing up in San Antonio, Texas, steaks are thin and quickly fried, then covered with a delicious sauce, based in tomatoes, tomatillos or queso. I recall scarfing down a number of these thin, saucy steaks when I was in college and working down the street at Tomatillos Café y Cantina. I used a round steak here, since a quick braise is all I was going to do to cook it.

The steak would be okay without a topper, but I still have chimichurri from a few days ago, and I am hard pressed to have a dish with beef and tortillas without yearning for a spoonful of chimi on top. And what else goes along on a plate of tex-mex food? Guacamole and beans of course.

Tortilla Steak

8 oz Tortilla chips

Salt, cumin and Pepper to taste

1 round steak cut into three or four smaller pieces

½ cup oil or butter

Crumble the tortilla chips in a food processor and place them in a shallow bowl or pie plate – you will need about a cup of crumbs. Set an iron skillet over medium high heat (maybe a little higher for electric stoves) and add the oil or butter. Season the steaks with salt, cumin and pepper. Press each steak firmly into the crumbs so the meat is covered on all sides. When the pan is hot add the steaks and cook no more than one minute on each side for medium rare, or longer until cooked to desired wellness. If you want them cooked more than medium rare, you may need to lower the heat so the crumbs don’t overcook. Serve immediately with a generous portion of chimichurri drizzled on top, along with traditional sides, like tortilla chips, guacamole, refried beans and a fresh salad.

Guacamole

Once again my food preparation decision is strongly influenced by what was on sale at the store. I live in a small town in Texas. There are two options for groceries – Walmart (yuck) and a a regional chain. I gave in and got a discount card for the local place, especially since they let me do so without giving a bunch of personal information, and they have REALLY good deals that I would otherwise have to drive 30 miles to get. This week avocados influenced me. Not only were they on sale, but they were grown in Texas. YeeHaw! I bought ten of the suckers, knowing that I can freeze some if I overdose on the green stuff.

When I first started making guacamole at a teenager I would throw everything in a blender, add sour cream and make it a smooth, creamy dip. I don’t recall why I started making it smooth, because I was surrounded by people who preferred creating chunky versions. Maybe it was my way of being a rebel – I toilet papered a few houses and made smooth guacamole. Scary.

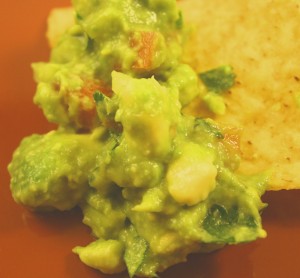
Now that I am a big girl I make it chunky. Besides the fact I do not currently own a blender, I really like not knowing if I am going to bite into a piece of tomato, onion, jalapeño or avocado. It is a comfort food for me and I will be eating a lot of it because, well, avocados don’t freeze well unless you mush them all up with some lime juice. I guess if I end up freezing avocado I can just thaw it out later make a batch of smooth guacamole…anyone got a blender?

Guacamole

4 large ripe avocados

2 small tomatoes, diced with seeds removed

½ small white or red onion, diced

1 medium jalapeño, diced with seeds removed

1 lime, juiced and meat included

¼ cup fresh cilantro, roughly chopped

1 clove garlic, diced

½ tsp ground cumin

Salt and pepper to taste

Cut avocados in half lengthwise. Carefully remove the pit (I usually strike it with my knife blade and twist). In each half cut the avocado meat in a crisscross pattern. With a spoon scoop all the meat out of the skins into a medium bowl. Add the remaining ingredients, keeping the lime juice for last to pour over the top. Stir it all together with a fork, adding salt and pepper to taste and smashing some of the avocado. To prevent the top from turning brown during storage, cover with cling wrap and press it down against the guacamole until all the air is pushed out. Chill for at least an hour, then let it warm to room temperature before serving.


Orange Chicken Redux

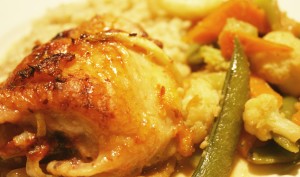
Adaptability. The need for it comes in small and large ways. With two aging oranges in the fruit bowl the chicken in the freezer was calling to be joined with them. My original idea was to make a stir fry, with the sauce caramelizing around the meat and veggies, trickling down into the rice and filling every bite with a sweet spiciness. In the end, the dish was delicious, but only after a bit of adapting. I pulled the chicken out of the fridge when it came time to make dinner. Arghh! Still frozen! Since I hate defrosting meats in the microwave – it always partially cooks it and encourages rubberiness – my options were to wait way too long to start dinner, make something else, or switch up the recipe. I decided to (sigh) bake the chicken instead of stir fry. Not the end of the world, but not exactly the plan.  I jumped in and went with the flow. I am including directions for what I did (redux) and what I meant to do (original). In the end it turned out yummy with a slow heat from the sauce.

Orange Chicken

4 chicken thighs, skinned and deboned (redux version used chicken with skin and bone intact)

Salt to taste

3 Tbsp canola oil

2 oranges, juiced with meat

1 tsp red chili flakes

2 Tbsp chili sauce

1 Tbsp teriyaki sauce

1 garlic clove, diced

½ medium onion, julienned

4 cups stir fry vegetables (snow peas, carrots, cauliflower, watercress, etc)

Original Directions

Mix chili flakes, chili sauce, teriyaki sauce and orange juice. Set aside. Cut chicken into bite sized pieces, sprinkling it with salt to taste.  Heat oil in wok at medium high heat. Add garlic to oil until browning begins. Add chicken and cook until half cooked. Add onions until they begin sweating. Add remaining vegetables and until almost done, covering if needed to speed up cooking. Turn up heat, add sauce and continue cooking and tossing until chicken is cooked and veggies are desired crispness. Serve over rice or noodles.

Redux Directions

Heat oven to 350F. In a small bowl combine ½ the oil, all the chili flakes, chili sauce, teriyaki sauce, orange juice and garlic. Set aside. Arrange onions in the bottom of a 9×9 baking dish. Season chicken with salt and arrange on top of the onions.  Pour sauce over chicken, making sure it runs over all the meat. Bake in oven for 45 minutes until juices run clear. Heat remaining oil in wok over medium high heat and toss until vegetables begin sweating. Turn heat to high. Draw about one cup of juices from the chicken dish and add to the vegetables. Toss the vegetables and sauce until they are done and the sauce thickens. Serve chicken, vegetables and sauce over a bed of rice or noodles.


Chimichurri

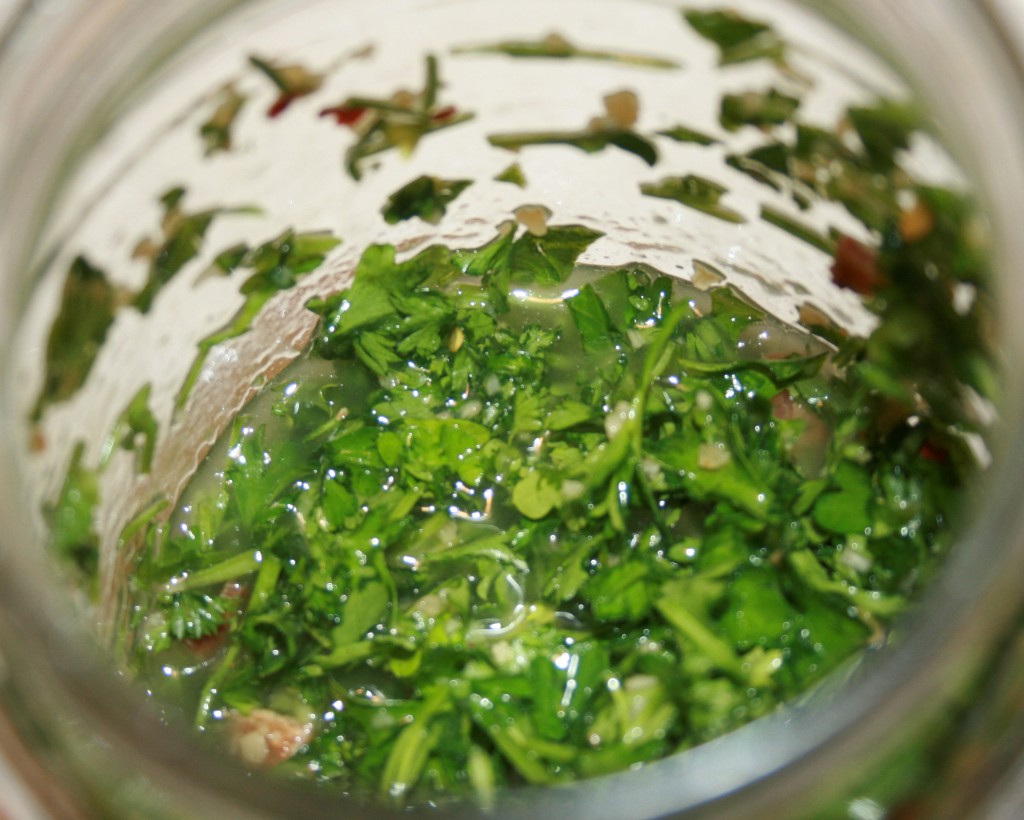
I was first introduced to chimichurri at a restaurant in San Antonio – Los Barrios– where metal bowls of the wonderful stuff are sitting on the table when you sit down. Then they bring hot chips and fresh salsa to add to the mix. Recipe for gluttony.  Drizzle a little on a chip and crunch away. I don’t know why, but I always want to eat more. I would not have thought a sauce made primarily of parsley would appease my palate, but it does. Besides the digestive benefits of the parsley, if made correctly the sauce has a gentle balance of tangy, soft and addictive. It also goes wonderfully with pretty much any grilled meat, and of course drizzled over a fajita taco. I have even used the final dredges of a jar to sear veggies. It can be made without the bacon and grease for a healthier version, but be warned the texture and depth changes. Make the chimichurri and refrigerate it the day before you plan on serving it and the flavors really meld together. You can actually make it the same day, but sitting overnight makes a noticeable difference.

Chimichurri Sauce

1 bunch parsley

1 clove garlic, crushed

1 tsp salt

1 lime, juiced with meat included

1 slice bacon, cooked crisp

1 Tbsp bacon grease

½ – ¾ cup canola oil

Chop parsley roughly, including stems (If chopped too small the leaves can taste bitter). Place them in a glass bowl or jar. Add garlic, salt, lime and oil. Stir or shake up the ingredients until the parsley is coated. Heat up the bacon grease and chopped bacon until it is hot, then drizzle it over the mixture – this step will wilt some of the parsley and release flavor and aroma. If you make the sauce the day before you may want to pull it out of the fridge an hour or so before mealtime so it can warm to room temperature. Serve over meats, vegetables or use as a dipping sauce with tortillas or chips.

Layered Chili Bake

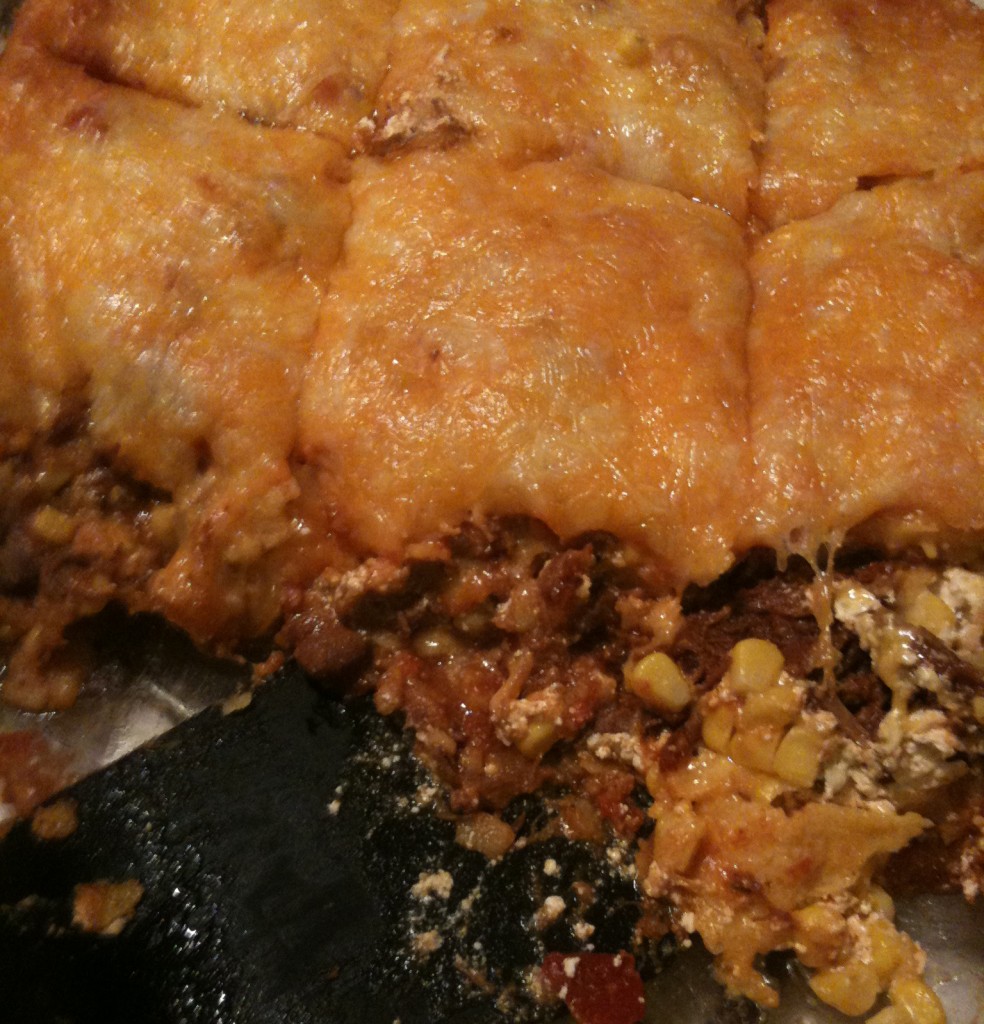
This dish is a huge, gluttonous monstrosity. It is meant to be. I combined a couple of comfort foods into one dish. I will explain.

Big D makes chili and is really good at it. He uses three kinds of chilies – including powerful chipotles – along with onion, garlic, cumin and stew meat, as well as tomatoes, secret ingredients and sometimes some beer. He starts it in the morning in our well seasoned iron dutch oven. It simmers on the stove top all day, making the house smell like the Mexican restaurants I frequented when growing up in San Antonio. He stirs it, adds some of this and that, tastes it, stirs it some more. The result bursts with a smoky, spicy flavor that does not reveal its heat until about five bites into your meal. We always have leftovers that just don’t taste the same after they have been frozen, so there is always an urgency to eat it for days until it is all gone. I can eat bowl after bowl of it topped with cheese, sour cream and cornbread, but I get to a point when I look forward to the flavor, while also wanting some variety.

The other day we had some chili in the fridge, but I was craving a casserole. I was actually craving a casserole my mom used to make – layered enchiladas. I recall it had corn tortillas, ground beef, cheese, some mixture of sour cream and condensed soup, onions and tomatoes. My brother and I would gobble up a plate full of the casserole somewhere between school, soccer practice and homework. It was so good. I wanted the flavor of Big D’s chili and the texture of my mom’s casserole. I can do that. I know I can!

Necessity is the mother of invention, although there is debate as to who first made such a declaration. My craving necessitated a casserole, so I made one. This casserole adds some variety to our menu, freezes well, and stretches out a batch of chili.

Warning: Big D’s chili is usually thick and meaty, so if you try to use a watery canned chili I don’t want to know about it and cannot guarantee your results.

Layered Chili Bake

12-15 corn tortillas
1 cup salsa
4-6 cups leftover no bean chili (chili with beans should work, but control yourself and don’t add any separately)
2 cups sour cream

2 cups corn, cooked
2 cups cooked pinto or black beans
3-4 cups shredded cheese

Preheat oven to 350F. Grease 9×11 casserole dish. Add 1/2 cup of the salsa in the bottom of the dish and cover with 4-6 tortillas. Make sure the bottom of the dish is completely covered by overlapping the tortillas. Use half of the chili to make an even layer on top of the tortillas. Follow the chili with half the sour cream, 1 cup corn, 1 cup beans and about a cup of cheese. Continue by repeating once again the layers, ending with a top layer of tortillas. Cover the top tortillas with the remaining salsa and cheese. Bake covered for 30 minutes, then uncovered for 10-20 minutes until hot and bubbly.


Mallow Bars

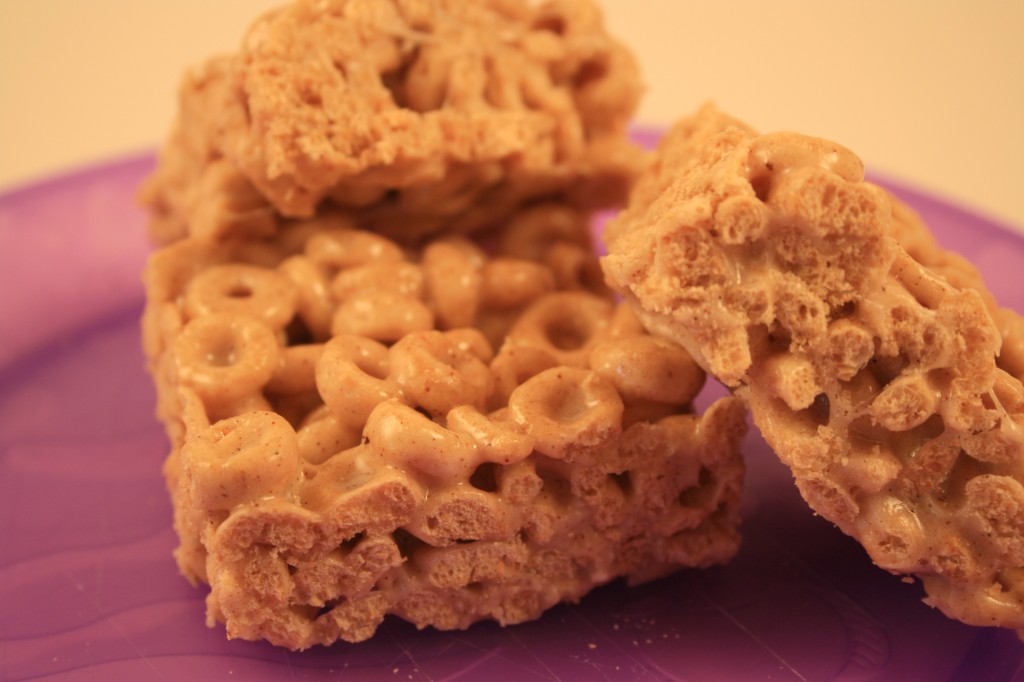
My little girl likes Cheerios®. Specifically, she likes Cinnamon Burst Cheerios®, and has recently decided that a tidy little bowl of dry cereal is not as novel as it used to be. Now she wants milk on it. Since she often eats cereal while secured in her car seat as I am driving, her new penchant for milky cereal has put a crimp in my ability to transport her and have her clothes dry upon arrival at our destination. I decided to try and find something even MORE novel than cereal in milk. Since she also likes marshmallows my mind was led to a logical conclusion – cereal treats. Although my childhood was filled with crispy rice treats, my girl could care less for snap, crackle and pop. She likes her Os; therefore, I will give them to her. This recipe works great for snacking while driving, although her hands may be a bit sticky when we arrive. I found the recipe here. I used the Honey Nut version and dumped in some extra cinnamon because, well, cinnamon is good. Otherwise, I followed the simple recipe as presented.

Cheerios® Marshmallow Bars

3 Tbsp butter

1 tsp cinnamon

1 bag (10 1/2 oz) miniature marshmallows (6 cups)

5 cups Cheerios® cereal

Butter a 13×9-inch pan. In a large microwavable bowl, microwave butter and marshmallows uncovered on High for about 2 minutes. Stir every minute, until smooth. Immediately stir in cereal until evenly coated. Using buttered back of spoon or hands, press mixture firmly in pan; cool. For bars, cut into 6 rows by 4 rows. Store loosely covered.


Impure Tabbouleh Salad

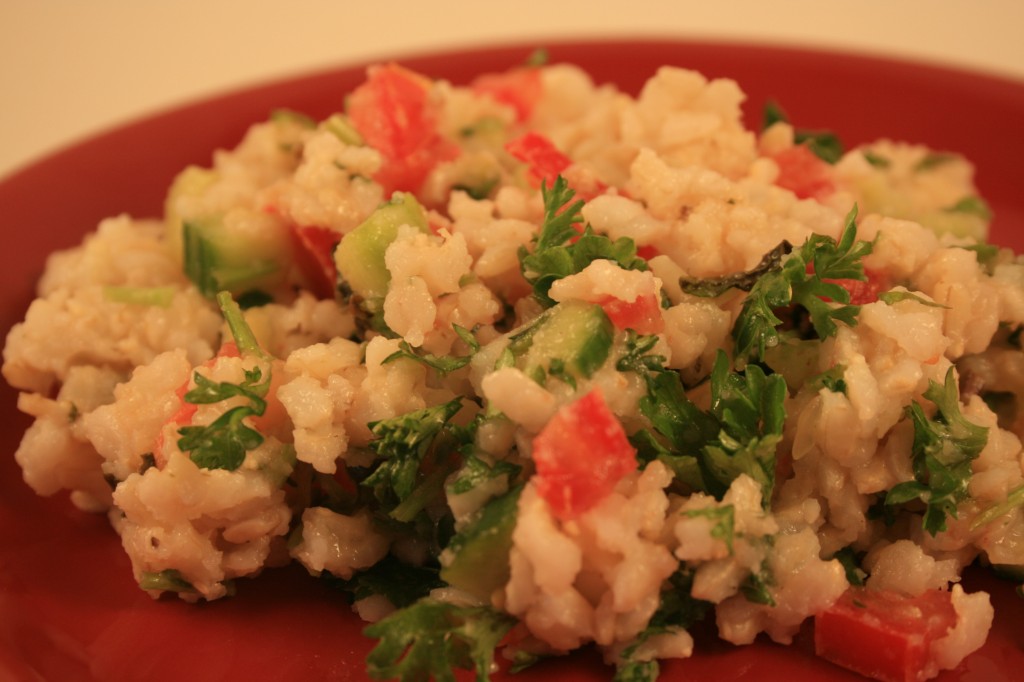
I love tabbouleh. It is tangy and filling, emphasizing the simple nuttiness of bulgur wheat. Big D hates what wheat does to his digestive system. How oh how can the two meet in a pleasant, yummy way? Rice! Brown rice. I call it impure tabbouleh. As a dish made in many different regions of the world and often consisting of local products, tabbouleh by its very nature varies from kitchen to kitchen. I decided to embrace the nature of the dish and make it ricey. A happy hubby tummy is a good thing, and I like it, too! I make a big batch and we eat on it for a week. Even our little girl digs into it when she is in the mood. The later in the week it gets the limey-er the salad gets.

Impure Tabbouleh Salad

4 cloves garlic, diced

2 medium limes, juiced with meat

¼ cup extra virgin olive oil

1 tsp sea salt

1 english cucumber, diced

4 roma tomatoes, seeds removed and diced

5 spring onions, diced

1 bunch parsley, chopped (about 2 loose cups when prepared)

¼ cup mint, chopped

7 ½ cups cooked brown rice (about 3 cups uncooked)

Black olives (optional as garnish)

Combine garlic, lime juice, olive oil and salt. Set aside. Mix together all other ingredients except for rice. Pour dressing over mixture until veggies are covered. Add mixture to rice, making sure dressing and veggies are well combined with the rice. Although the salad is immediately ready to eat, letting it sit for a few hours in the refrigerator allows the flavors to blend. Serve as a meal itself or as a side dish with grilled or roasted meats.


Chicken A Go Go


What do you do when chicken is on sale for 79 cents a pound? I don’t know about you, but two things happen to me. Number one, I let all pure thoughts of free range and grain fed go out the window. Number two, I buy it. A lot of it. Until the freezer is full of thighs and legs. Then I cook some.

I am starting my chicken marathon with something simple, reminiscent of a dish my mother-in-law makes that my husband (aka Big D) adores. I simply chop up tomatoes, artichoke hearts, onions and broccoli. I then drizzle them with lime juice, olive oil and some chopped garlic, with salt to taste. On top of the veggies I place chicken thighs that were sprinkled with salt, pepper, chili powder and cumin. A little pat of butter is then perched precariously atop each piece of chicken. Ideally it will all fit in a 9″x13″ baking dish, but if you are like me such a dish is still in the fridge with leftovers, so in this case I used a 9″x9″ and a glass pie dish. They worked great.

After cooking it all for about 45 minutes at 350 degrees it is done, the skin is crispy and itching to be eaten. I serve it over some brown rice cooked in ½ chicken broth ½ water and voila! Dinner! And leftovers for lunch! And maybe another dinner…

Post Navigation